My RV-7 Empennage Kit arrived and I have begun the process of building the five major sub-assemblies that make up the empennage (tail). They are:
- The horizontal stabilizer;
- The left elevator, which includes the trim tab;
- The right elevator;
- The vertical stabilizer; and
- The rudder.
The kit arrived in two very tightly packed boxes. The larger of the two contained all the sheet metal skins and the larger substructure components:

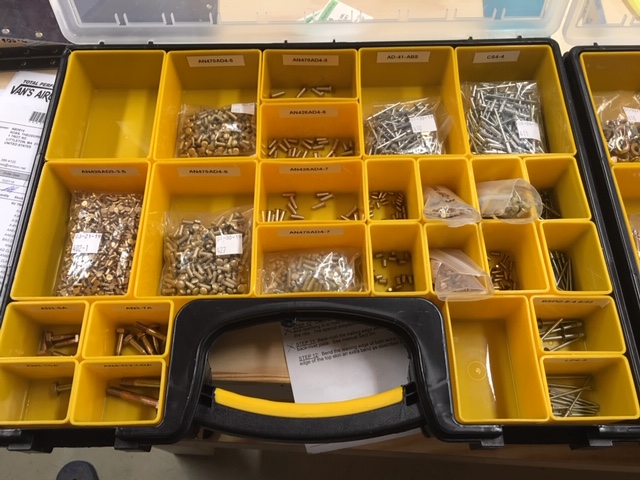
I spent several hours checking the inventory of the packages, making sure that everything on the parts list was present and accounted for. I’m using a couple of Harbor Freight organizing boxes to hold the small parts:

With the inventory complete and my workspace ready, it’s time to start the work. For the RV-7, Van’s Aircraft provides a set of build instructions and a separate set of construction drawings for each assembly. I’ve spent quite a bit of time reading the instructions and studying the drawings to fully understand how this whole thing works.
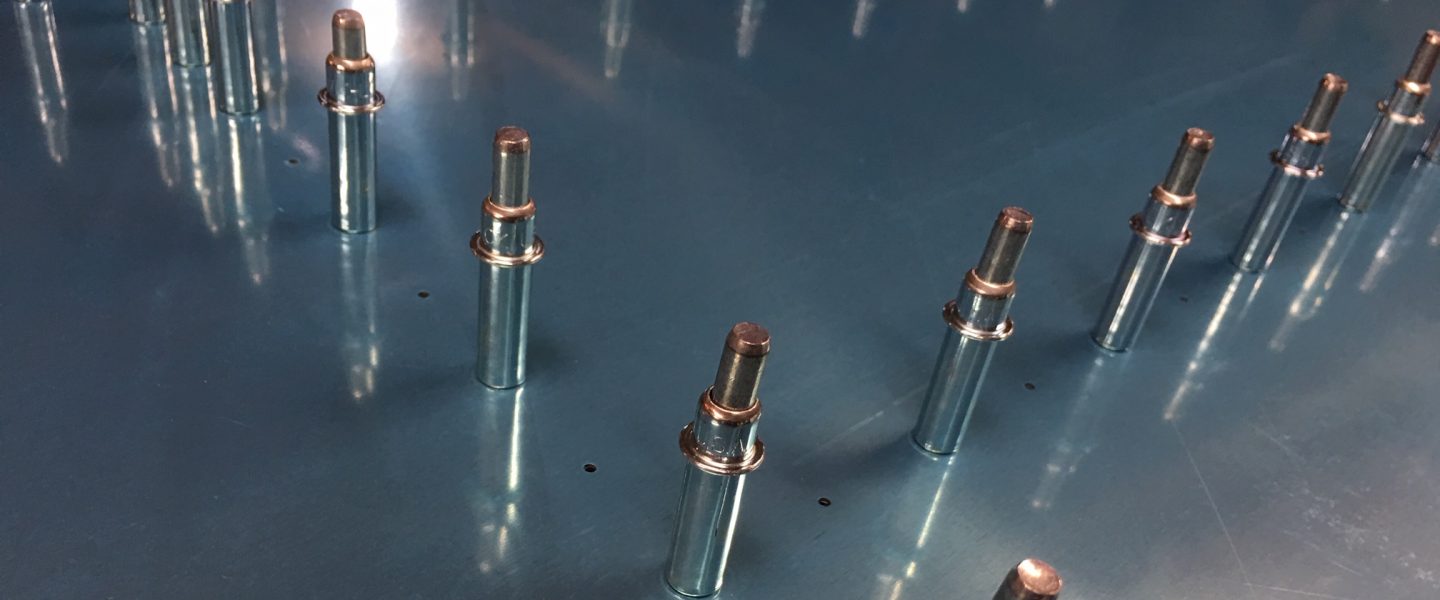
It appears that the instructions provide the sequence in which things should be done and the drawings provide details of how they are to be done. As an example, the instructions call for quite a bit of drilling (the pre-drilled holes need to be upsized to their final diameter and many rivet holes are not pre-drilled in the kit). The instructions don’t always say what size drill bit to use, but the drawings call out the specific rivet sizes for each hole. I’ve learned that it’s important to cross reference and double-check to make sure I know what size rivet or bolt I’m drilling a hole for.
It should also be noted that there’s a bit of fabrication and modification involved in this build. For economy’s sake, several of the parts in the kit are multi-purpose and require some modification before they fit. For example, there are two HS-00006 ribs in the forward/center of the horizontal stabilizer. They are manufactured identically, but need to be trimmed such that one fits the right side and the other the left side. Similarly, the HS-702 forward spar is used for both the RV-7 and RV-8. Since the RV-8 has a narrower fuselage (due to its tandem seating), the spar needs to be trimmed to fit a wider fuselage section for the RV-7.
Next: Beginning work on the Horizontal Stabilizer.
