The last subassemblies that need to be built in the empennage are the right and left elevators. The two elevators are different in their construction due to the trim tab being part of the left elevator. Like the rudder, the elevators are built with skins that have stiffeners fastened to them. The elevators differ from the rudder in that they have a one-piece skin with a folded trailing edge (the rudder had two pieces of skin with a riveted trailing edge).
Here is the right elevator skin with half of the stiffeners in place:

The left skin has a large gap in the trailing edge for the trim tab. In this picture you can see a right-angle brace that I use to hold folded skins open for dimpling and riveting. Notice also on the bottom left part of the skin there is a cutout for access to the trim tab servo.

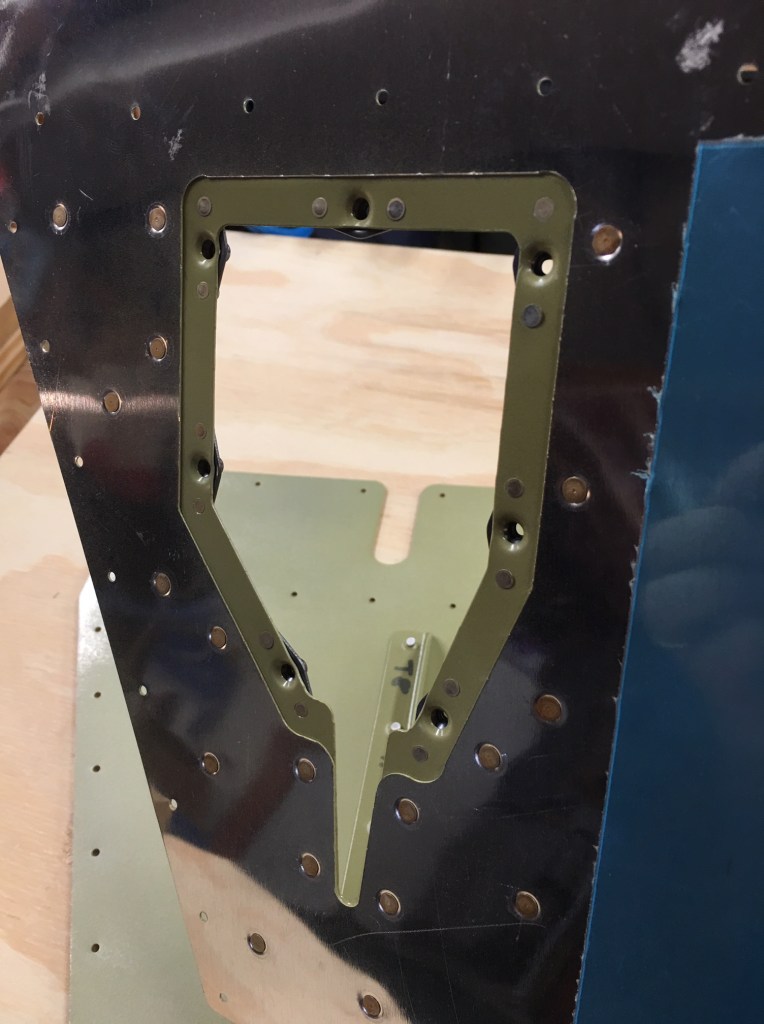
The trim tab access cutout is reinforced with a reinforcement plate which has nut-plates riveted in place so the exterior access panel can be held with screws. Nut plates are threaded “nuts” that are permanently riveted so no tool is needed to hold them in place while screws are fastened. This allows for a nice flush cover that can be removed for maintenance and inspection purposes.


The folded trailing edges need to be carefully bent down to their final angle prior to assembly. For this, I am using a bending brake made from a pair of 2x6s connected by door hinges:


The bending brake allows for a consistent bending action across the entire trailing edge. To prevent the edge from being crushed in the brake, I’m using a 1/8″ dowel (I’ve since switched to a steel rod to replace the wood dowel) in the very end of the curve:

The objective is for the skin to be flat and straight right up to the point where the edge radius begins. This results in the best aerodynamic surface and also reduces the stresses on the aluminum skin during flight. The elevators are subjected to quite a bit of abuse during flight from the pounding of the propeller and the forces from maneuvering.

In the above picture, the bend is almost complete. I found that it took quite a bit of work and a lot of force to get the bend just right.
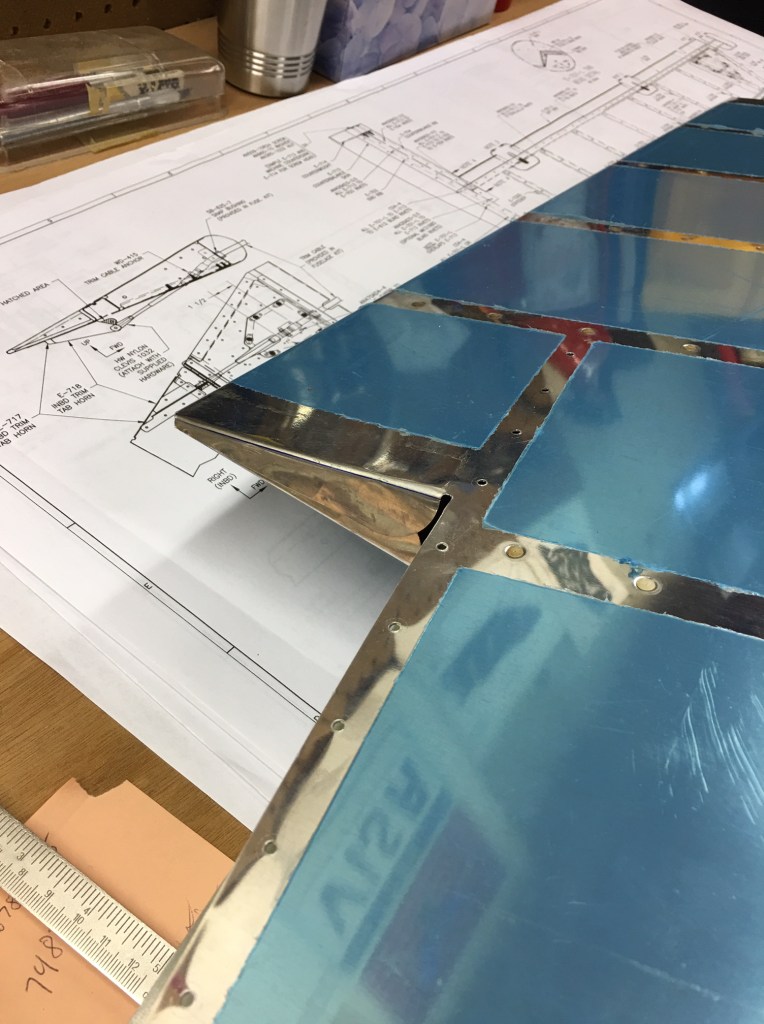
Another task is to bend the elevator tabs at the edge of the trim tab:

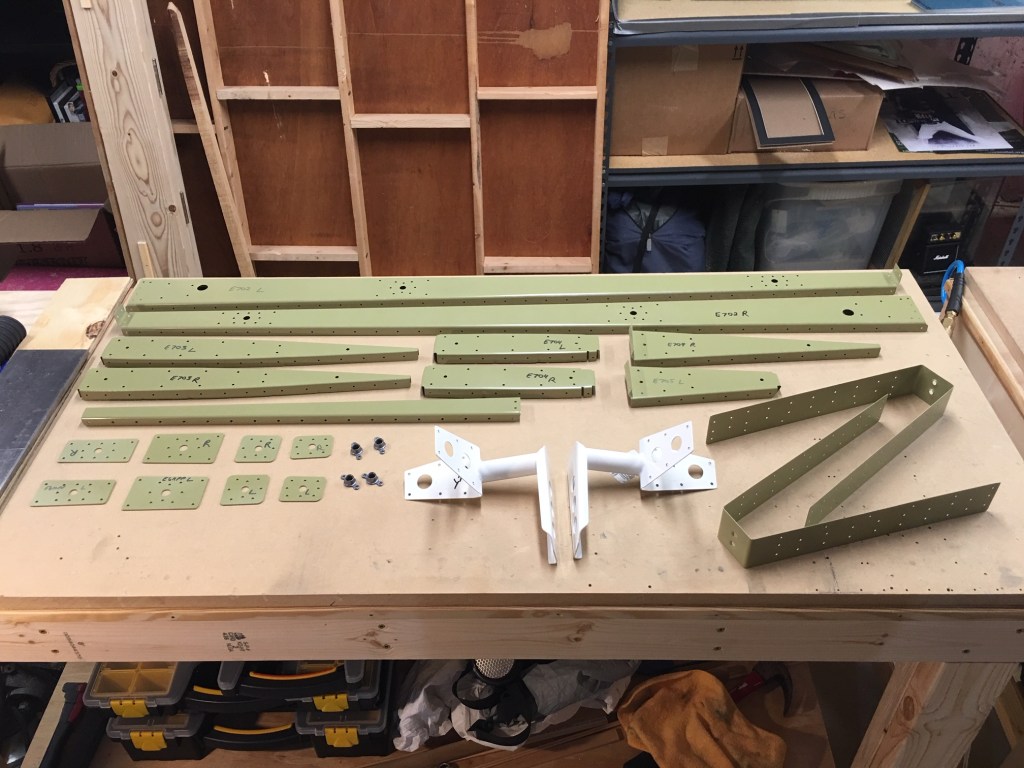
Here are all of the skeleton parts for both elevators, primed and ready for assembly:
Here are some pictures of the assembly of the right elevator:


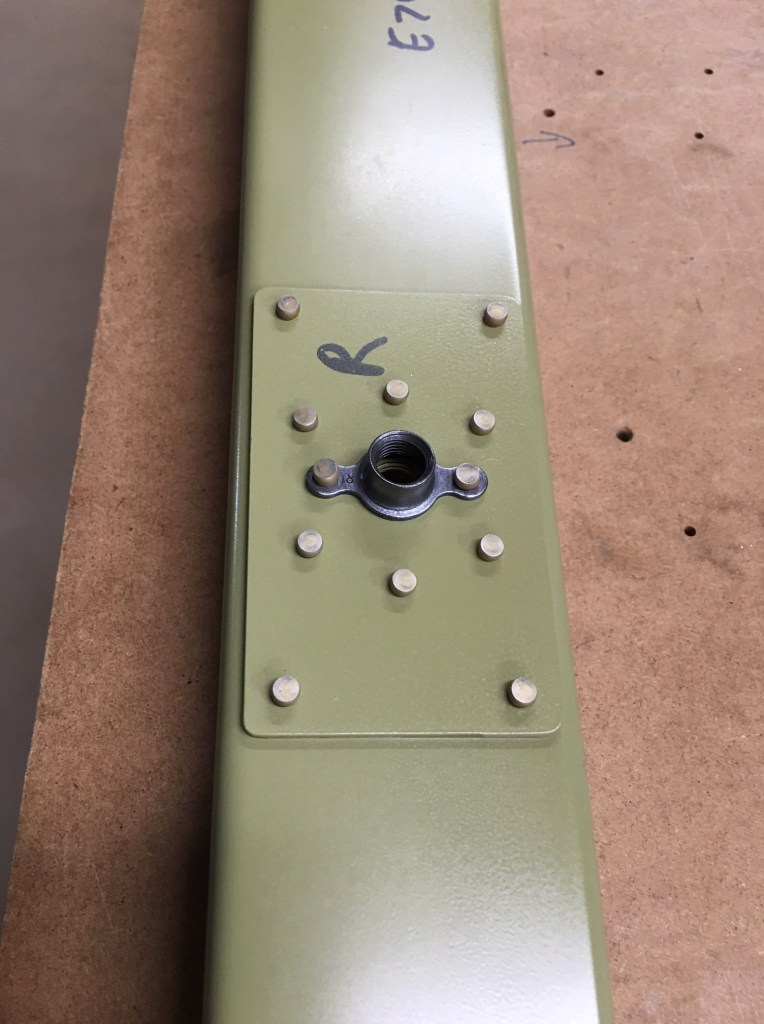
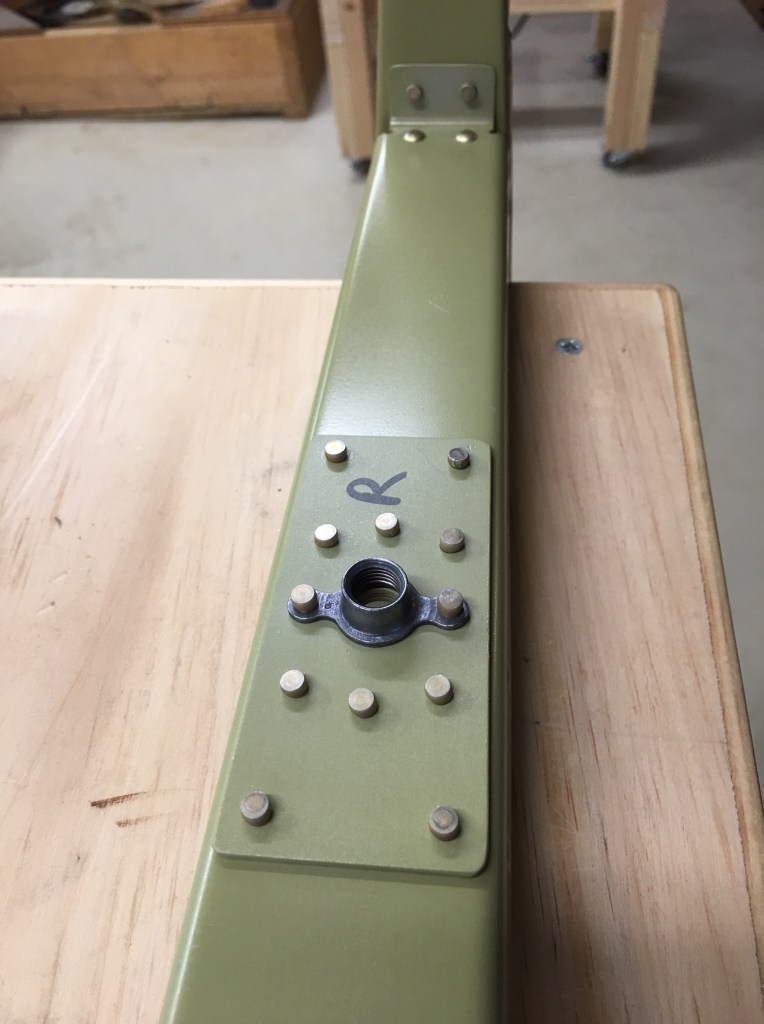


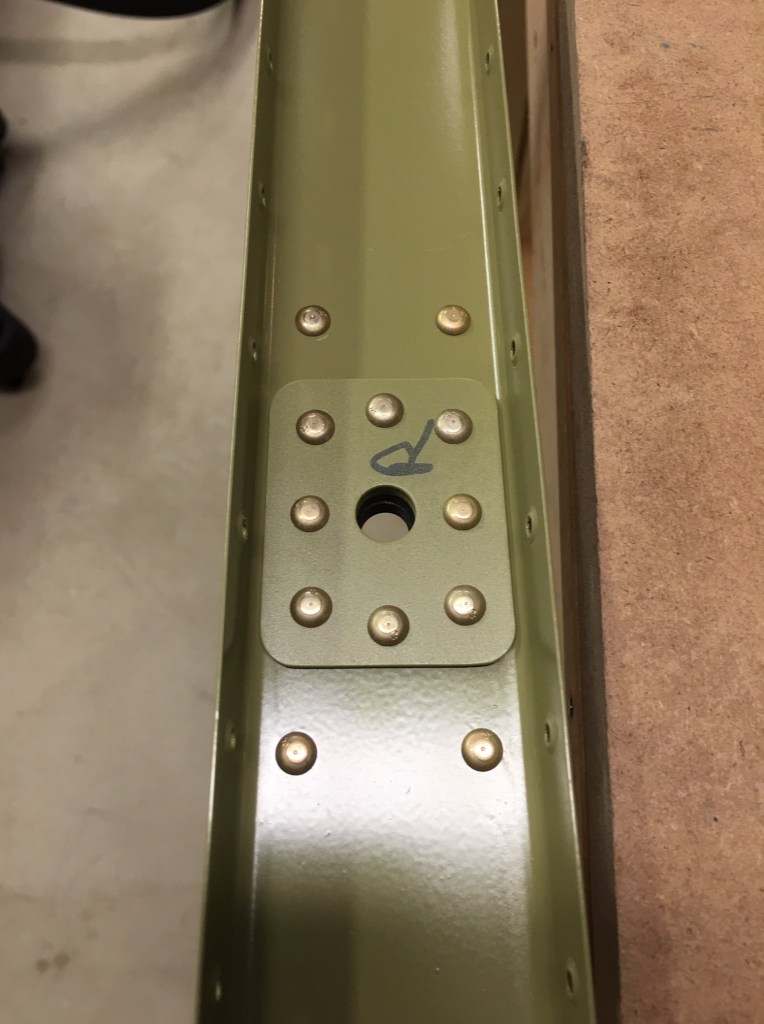
The last two pictures above show the reinforcement plates for the attach points on the elevator spars. These were added with a service bulletin designed to strengthen the spars where they attach to the horizontal stabilizer.
