The left elevator has tabs similar to those on the sides of the trim tab on the inboard edge adjacent to the trim tab. Like those on the trim tab, the builder is instructed to bend the tabs together to form a straight edge. The upper tab did not come out as flat and straight as it needs to be. Here’s what it looked like:
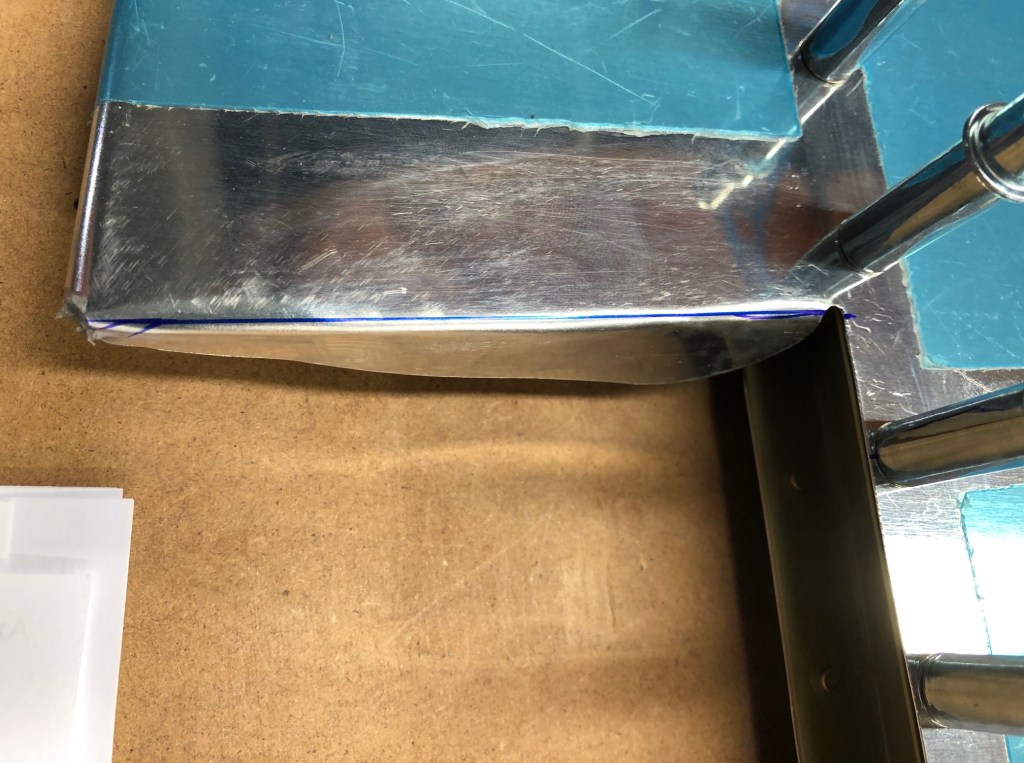
The top bend is not tight enough and the tab itself bulges out a bit in the center. It didn’t look too bad at first, but when I was fitting the trim tab it became evident that there was not enough clearance between the elevator and the trim tab.
In researching how other builders have handled this part, I learned that many builders just cut the tabs away and fabricate a small riblet to stiffen that edge. I liked this idea and started working out the details.
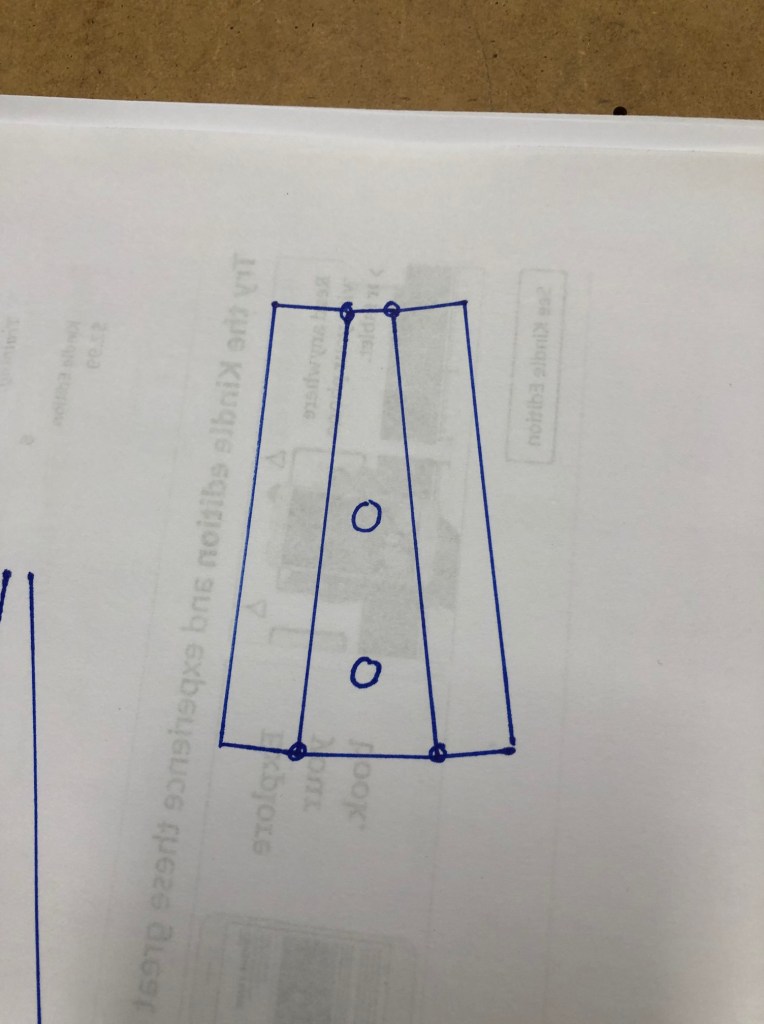
First, I measured the width of the trailing edge wedge at different points to figure out the proper dimensions of the riblet. Here’s my on-paper template:
I then cut the template out with scissors and used it to mark a sheet of aluminum for cutting. Here’s the cut piece with the relief holes drilled and the edges rounded:

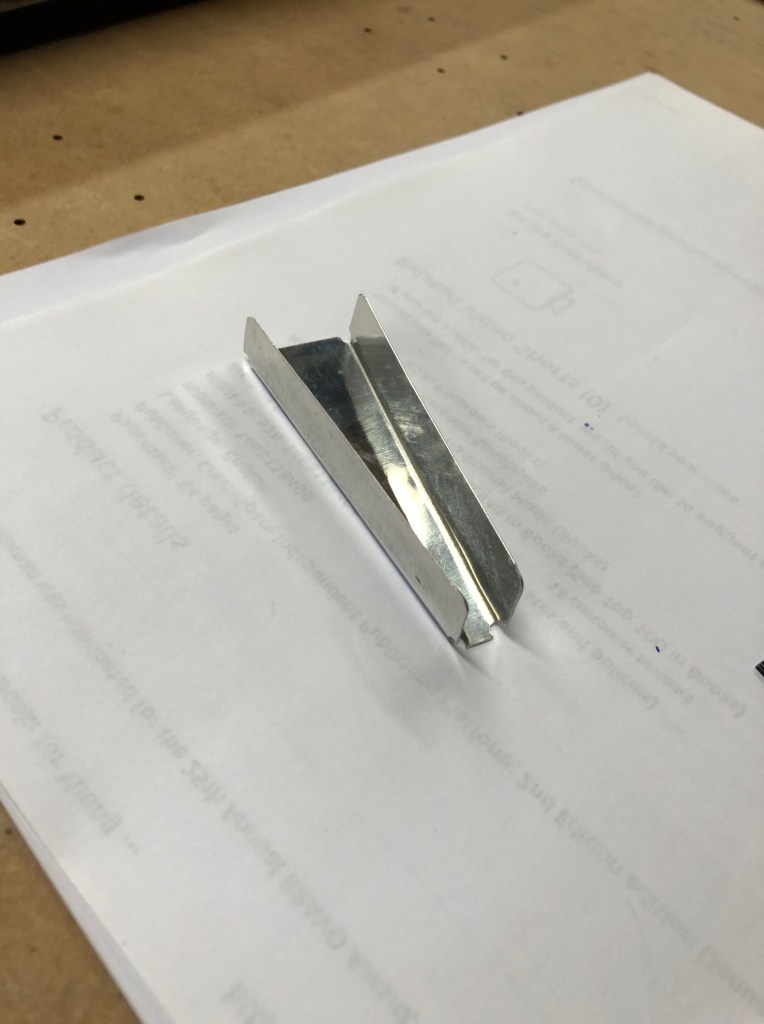
I then bent the flat sheet around my hardwood forms to produce the finished riblet:
I stared at this section of the elevator for several days before I was satisfied that this plan would work. I finally cut off the tabs:

Here’s what it looks like with the riblet in place:

The riblet can be installed as shown above or I could turn it around so the web is flush with the edge of the elevator. Turning it around would force me to use blind rivets to install it, but the edge itself might look nicer. The way it is shown here will allow me to use solid flush rivets. I’m leaning toward doing it as shown with flush rivets.
The next step is to mount the trim tab and ensure a good match along that side edge. Once that is done, I can drill the skin to the riblet and get it deburred and dimpled in preparation for riveting.
