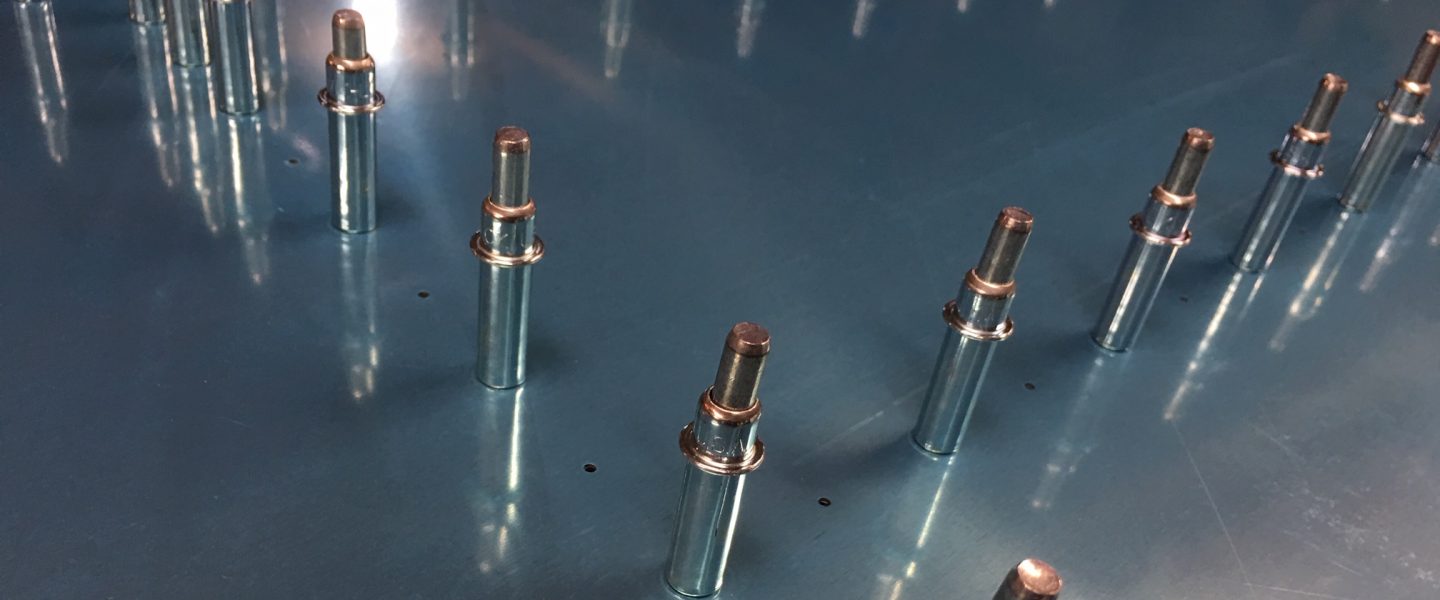
Back to the priming table to shoot primer onto the rest of the horizontal stabilizer skeleton parts.
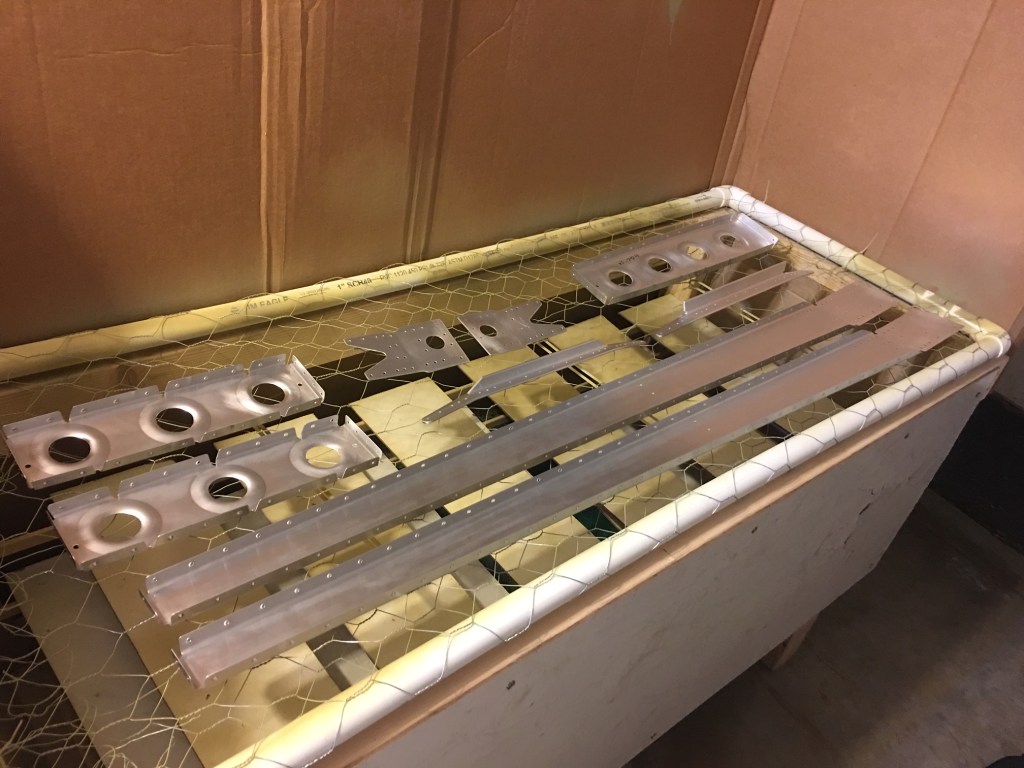

The primer finish comes out really nicely! Not bad for a $16 paint sprayer. Several other builders have claimed that the cheap sprayer from Harbor Freight Tools works just fine for priming. I couldn’t agree more.
On to the rest of the horizontal stabilizer skeleton. The next part is the front spar, including a left and right spar channel and a bunch of reinforcing structure in the middle section. Here are the pictures from this session:
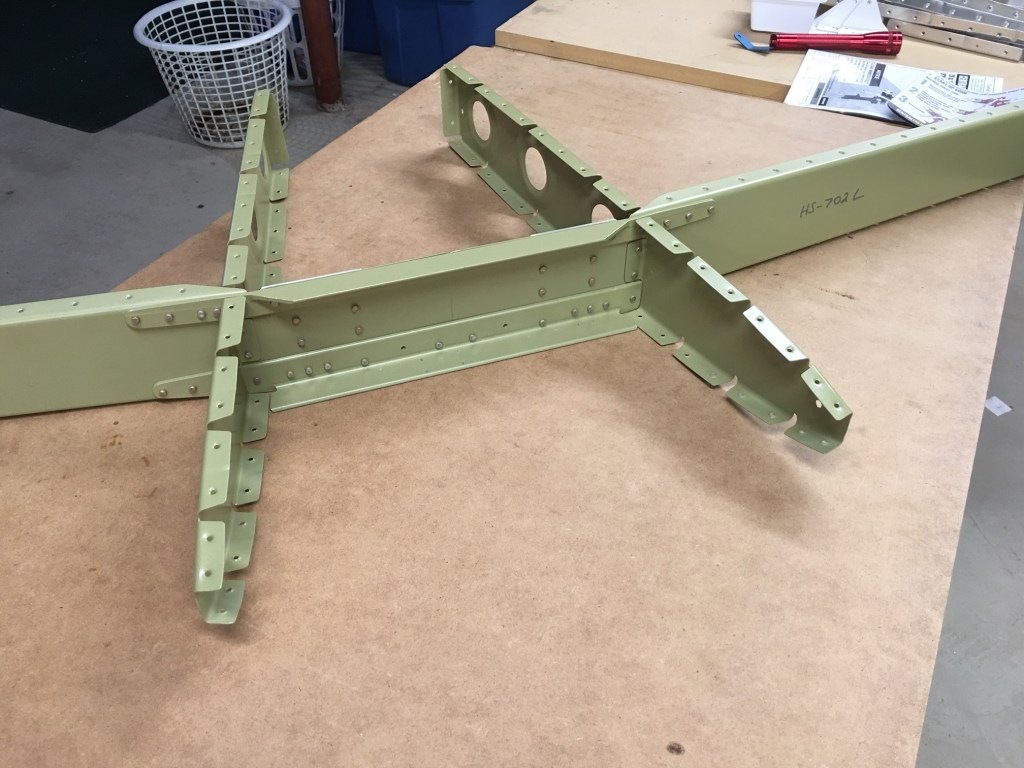
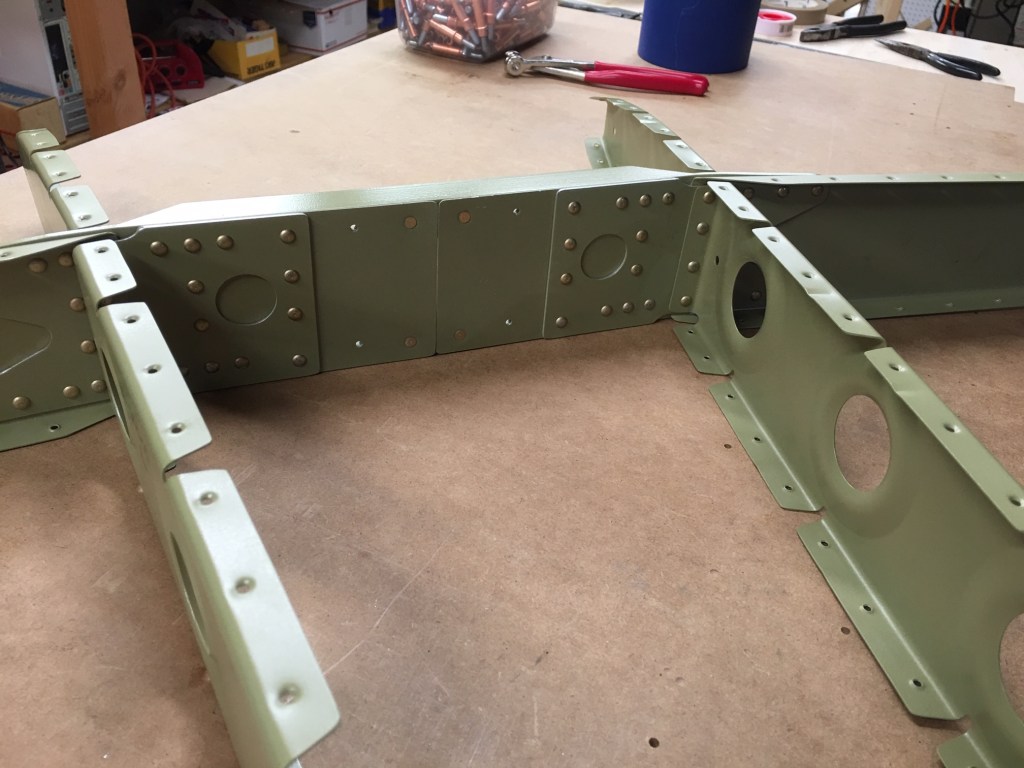
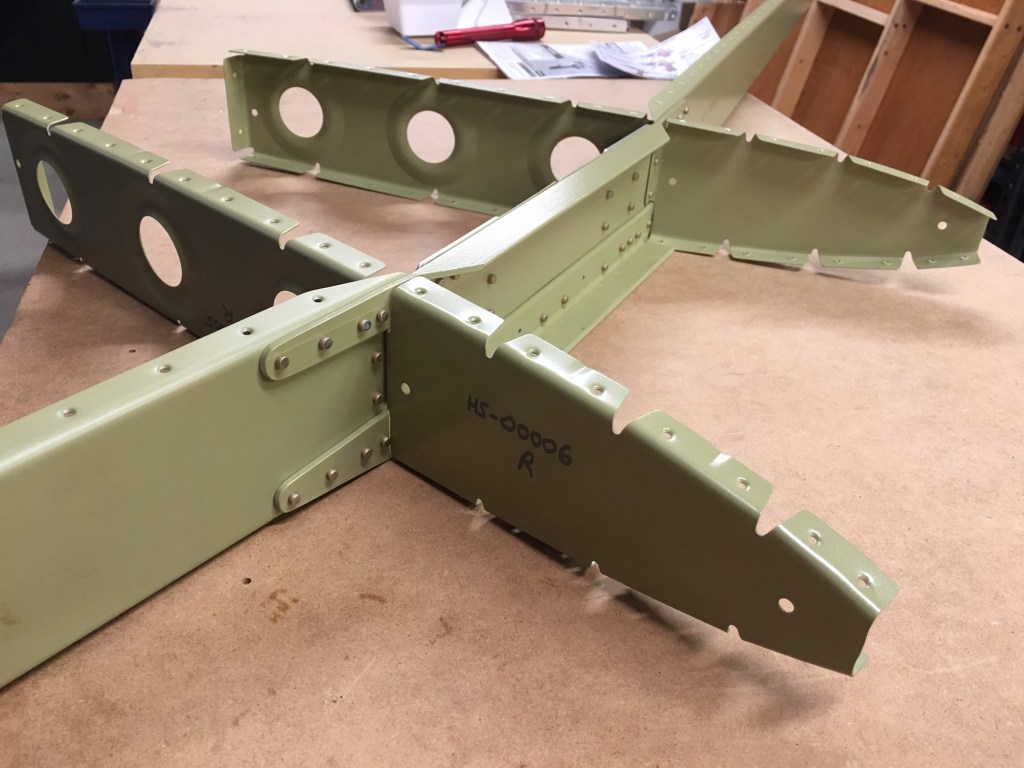
This was a little more challenging than the rear spar. When riveting the rear spar, all of the rivets were easily accessible with the pneumatic squeezer. Once you have the squeezer set to the right depth, it pretty much sets consistently perfect rivets every time.
Some of the rivets on the front spar couldn’t be set using the squeezer, particularly the ones on the lower reinforcement angle due to the large size of the flange on that piece. For these rivets, I needed to use the 3X rivet gun and bucking bar. They came out great, and made a lot of noise.
