It’s time to permanently assemble the horizontal stabilizer. The front and rear spar assemblies are complete and everything is primed and ready to go.
The assembly starts by clecoing and riveting the HS-707 rib to the top side of the skin. This rib is in the center of the front section of the stabilizer. It is completely inaccessible once the front spar is installed. As a result, it needs to be attached to the skin by itself before the front spar can be put into place.

With HS-708 temporarily fastened into place and HS-706 on the end, the skin can be pulled into its final shape against the lower side of the HS-707 rib. This allows the rest of the HS-707 rivets to be set.
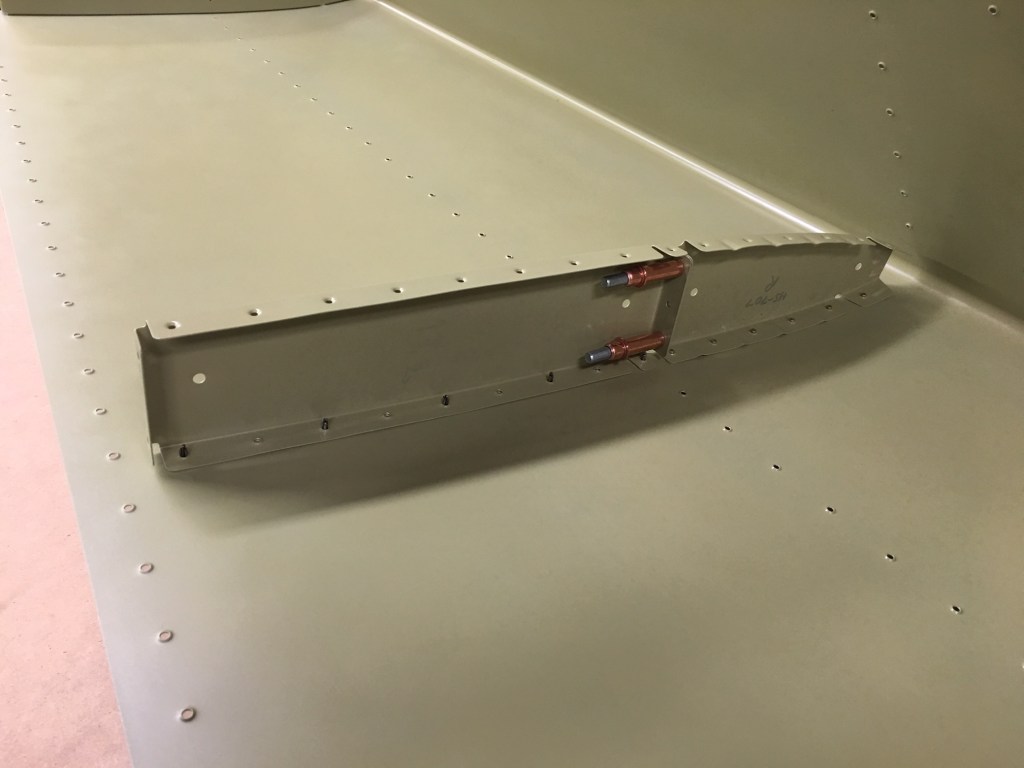
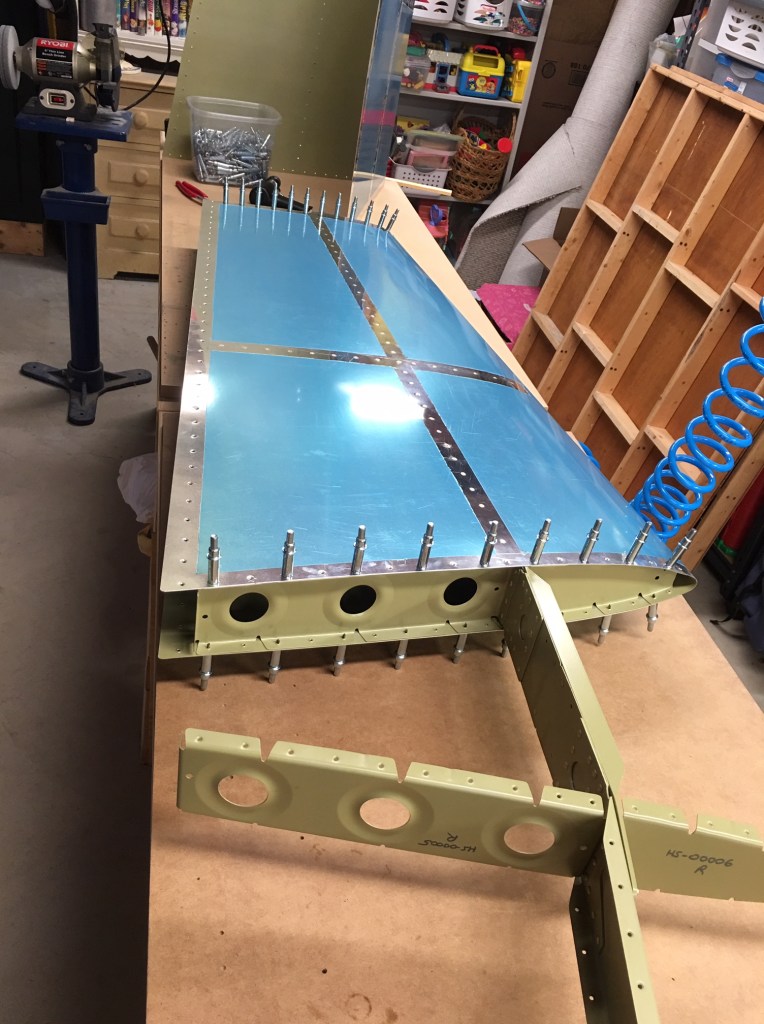
Once this is done, HS-708 is removed and the front spar assembly is put into place. It’s starting to look like a legit aircraft part.

Now, HS-708 (the rib directly to the rear of the now hidden HS-707) can be clecoed into place.

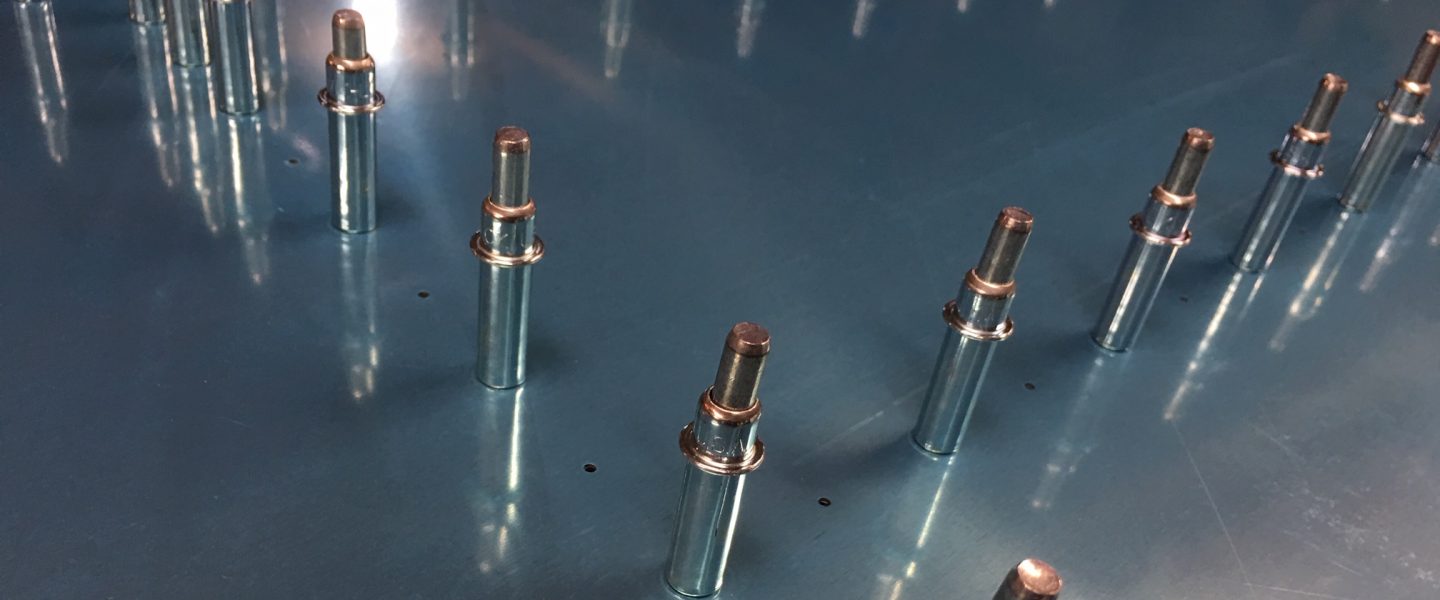
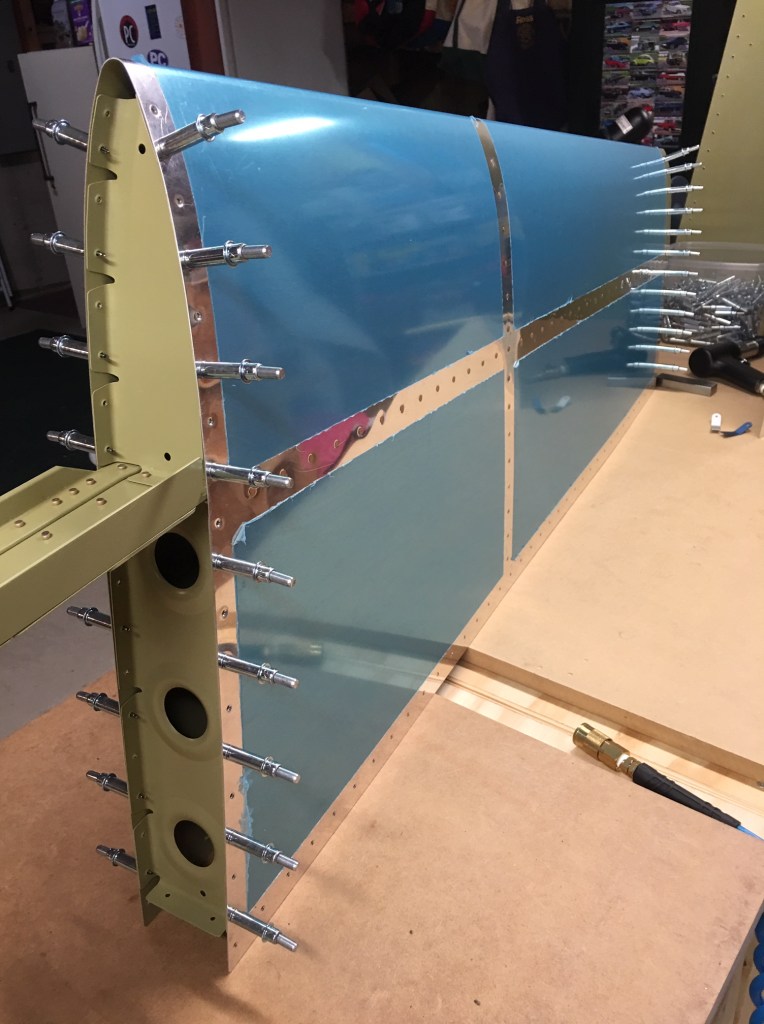
It is now time to blind-rivet HS-708 to the front spar and HS-707. Blind rivets, also called pop-rivets, must be used here because there is no access to the other side in order to squeeze or buck the rivets.

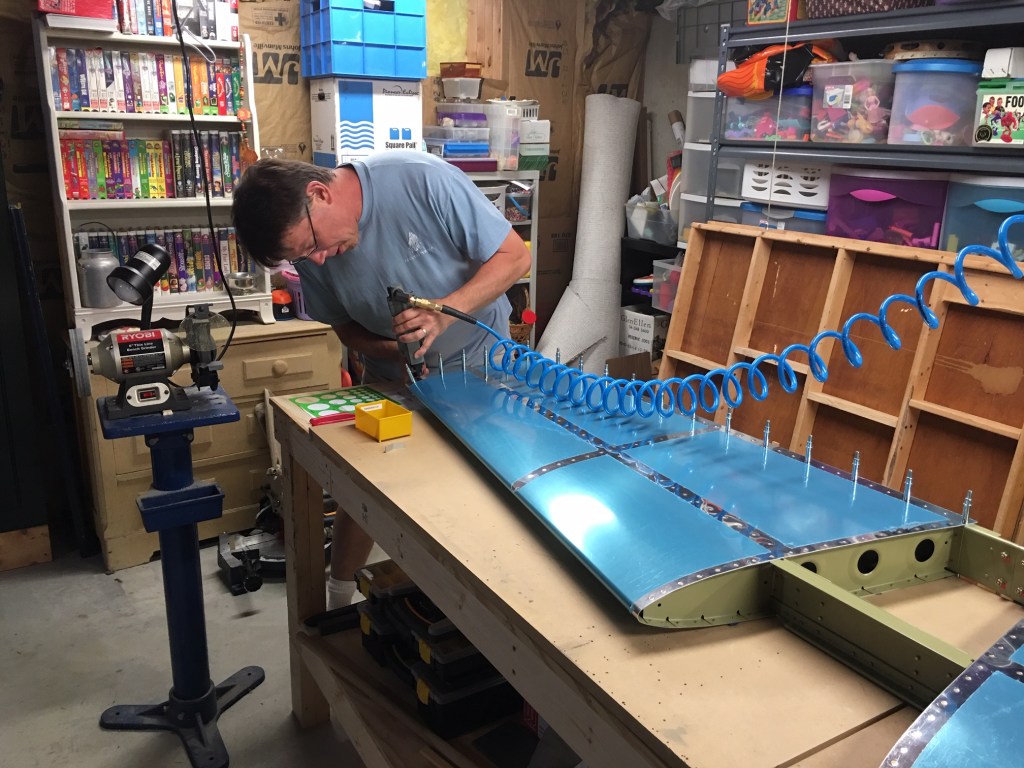
Now, all of the interior rivets holding the skin to the front spar and HS-708 must be set. These cannot be set using the squeezer due to their distance from the edge of the skin. These are set using the rivet gun with the flush (flat) set and a tungsten bucking bar. The rivet gun is a very precise air hammer that strikes the head of the rivet. The tail of the rivet impacts the hand-held bucking bar and deforms into the shop-head. Here is the left side with upper rivets all set:
And the bottom of the left side:
The whole process is now repeated with the right side.

Before setting all of the non-interior rivets, it’s important to mark with tape the holes that must not be riveted now because they will be used later to bolt the horizontal stabilizer fairing on when the stabilizer is mounted to the fuselage.

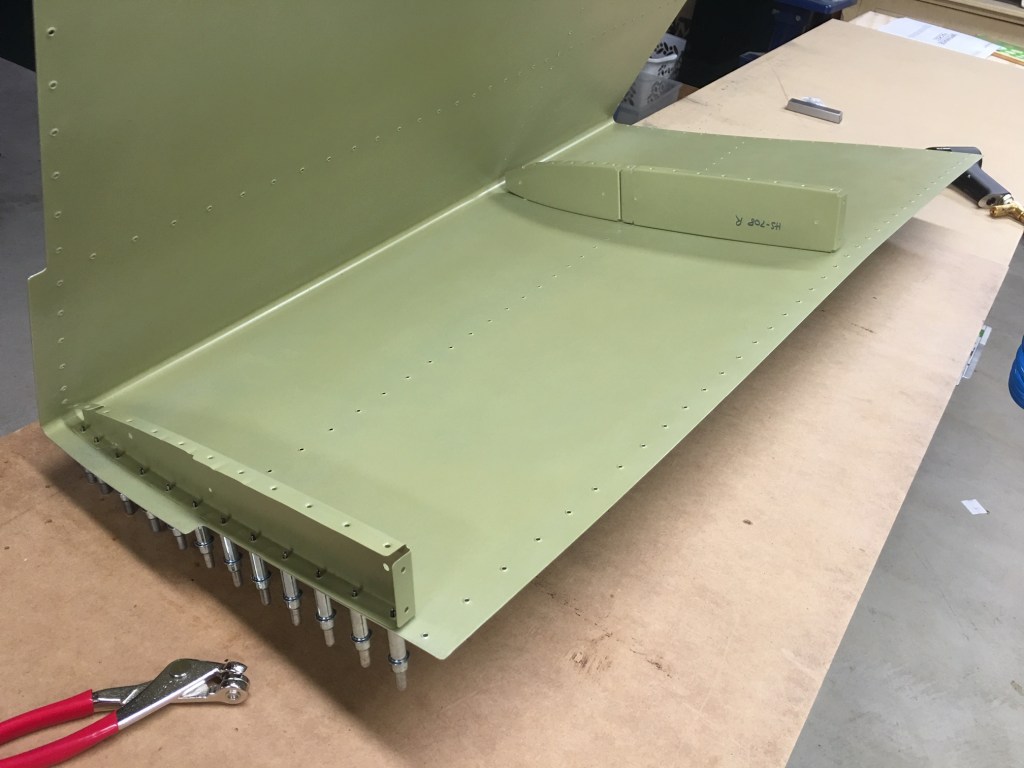
This is me squeezing rivets on the end rib (HS-706):
All of horizontal stabilizer is now complete with the exception of the final closing-up of the assembly (riveting on the rear spar). I am leaving this part off for now so my EAA technical advisor can come over and inspect the horizontal stabilizer while the interior rivet shop heads are still accessible. Once that is done and there are no adjustments needed, the rear spar will be riveted into place and the horizontal stabilizer will be complete. Here is what the mostly-complete assembly looks like:


