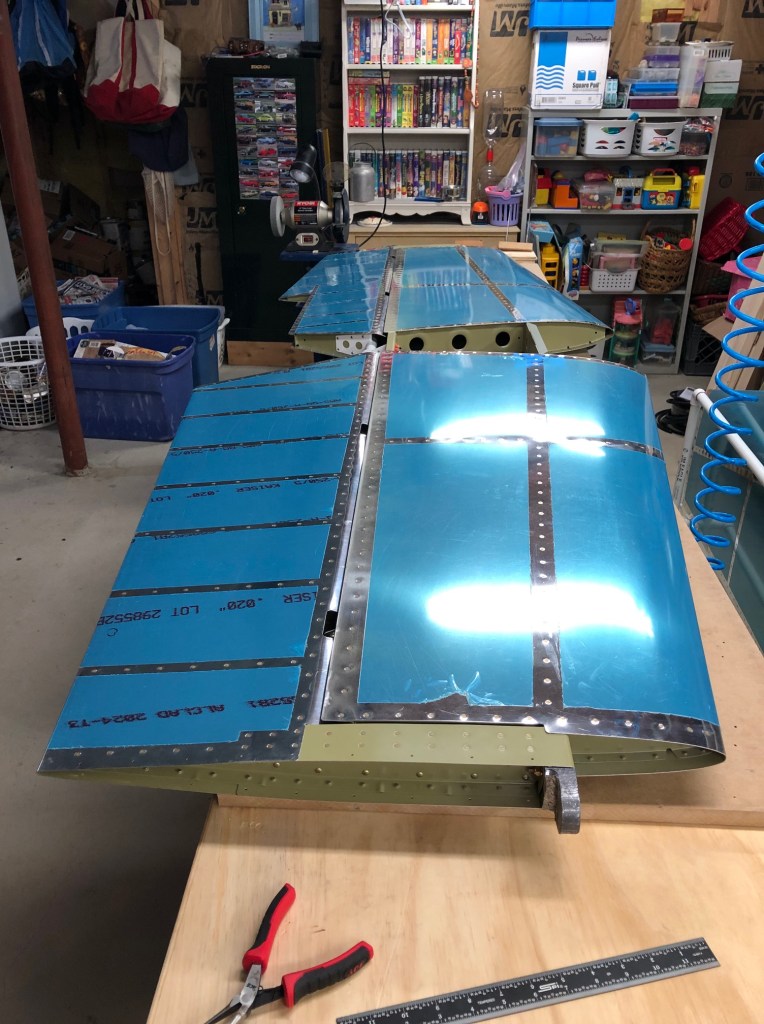
It’s time to hang the elevators on the horizontal stabilizer and drill the horns to fit the center bearing. I first had to drill out the bolt holes in the hinge brackets. The were not quite big enough for the AN3 bolts that are used to secure the rod end bearings. Once that was done, it was a matter of figuring out how to get the bolts inserted in the bracketed bearing ends. Here is the whole assembly connected together:
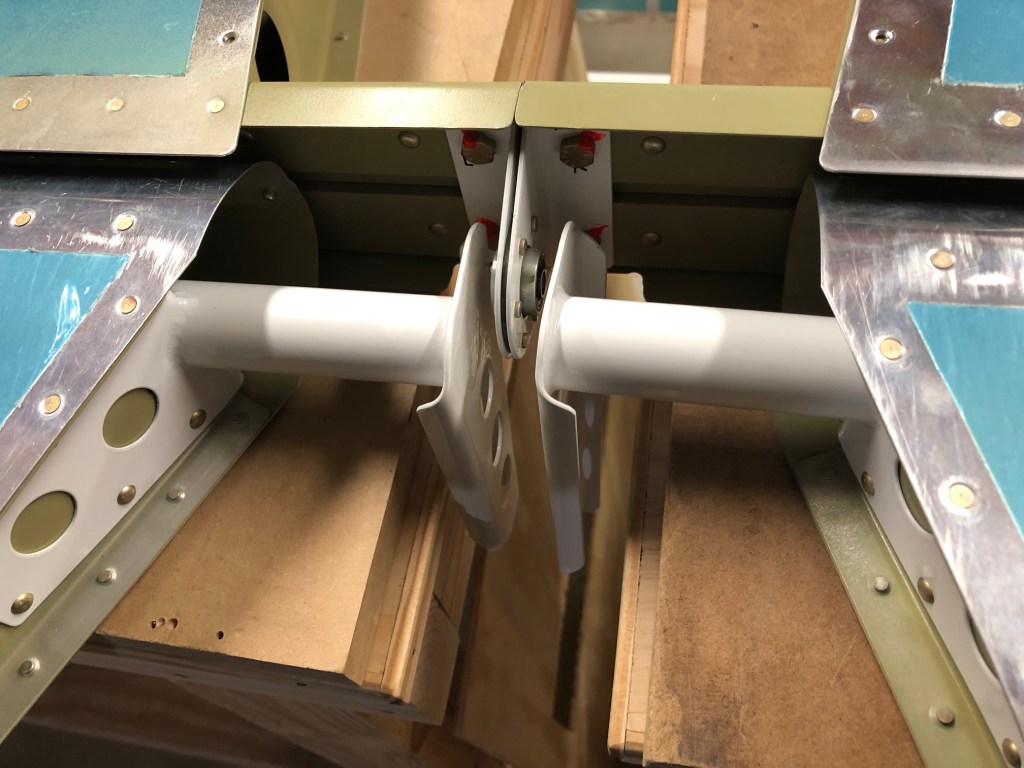
The elevator horns in the center need to be drilled so they can be fastened to the center bearing. Here is what they looked like at first pass. The bearing hole is too close to the torque tube on the horn. If I drill it now, I might not be able to get the bold head flush to the horn, and I almost certainly won’t be able to get a socket over the bolt head. Some adjustment will be needed.
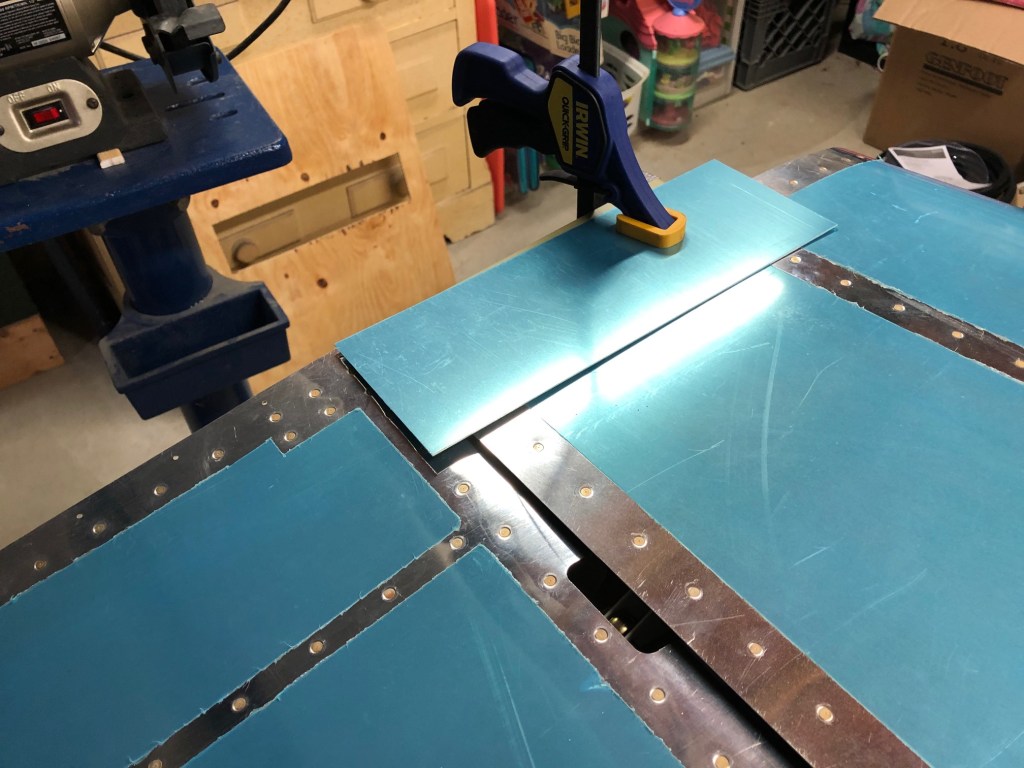
Getting the horns to fit well in the center is just one part of the whole elevator setup. Another thing to worry about is the alignment and length of the counterweight arms on the outboard sides. The skin is pre-shaped such that it will need to be trimmed to allow for movement of the counterweight arms:
I needed to trim off a full inch of the overhanging skin on both sides to provide a good fit:

Once the skin was trimmed, I was able to test the movement of the elevator. Everything is very smooth at this point:


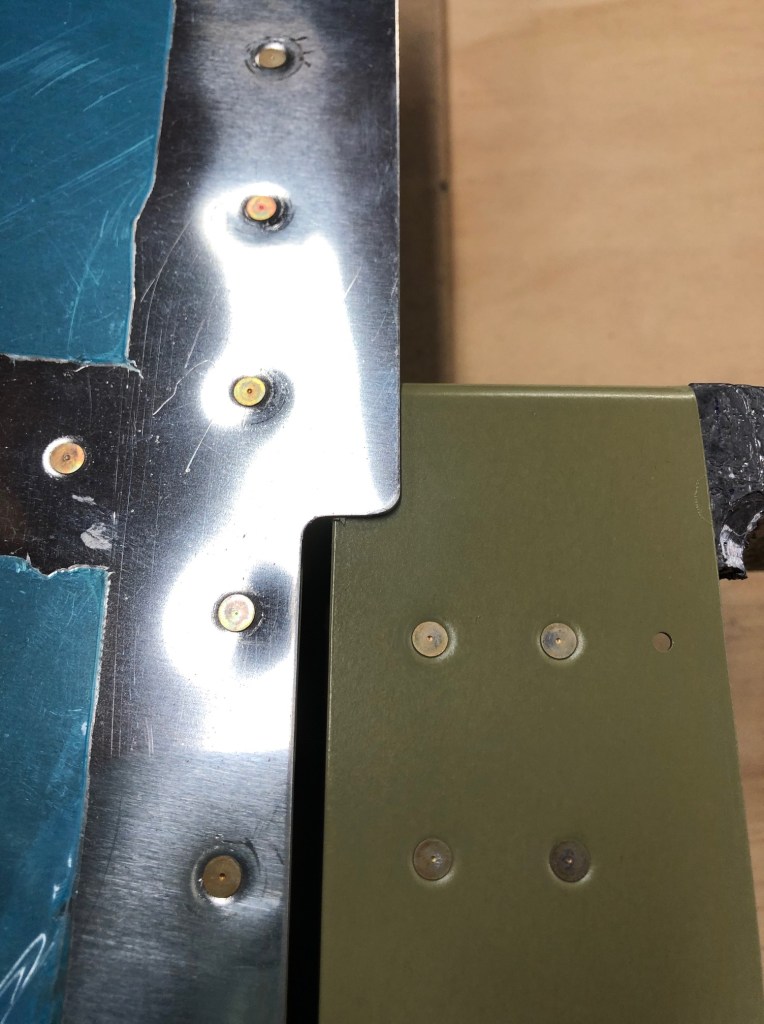
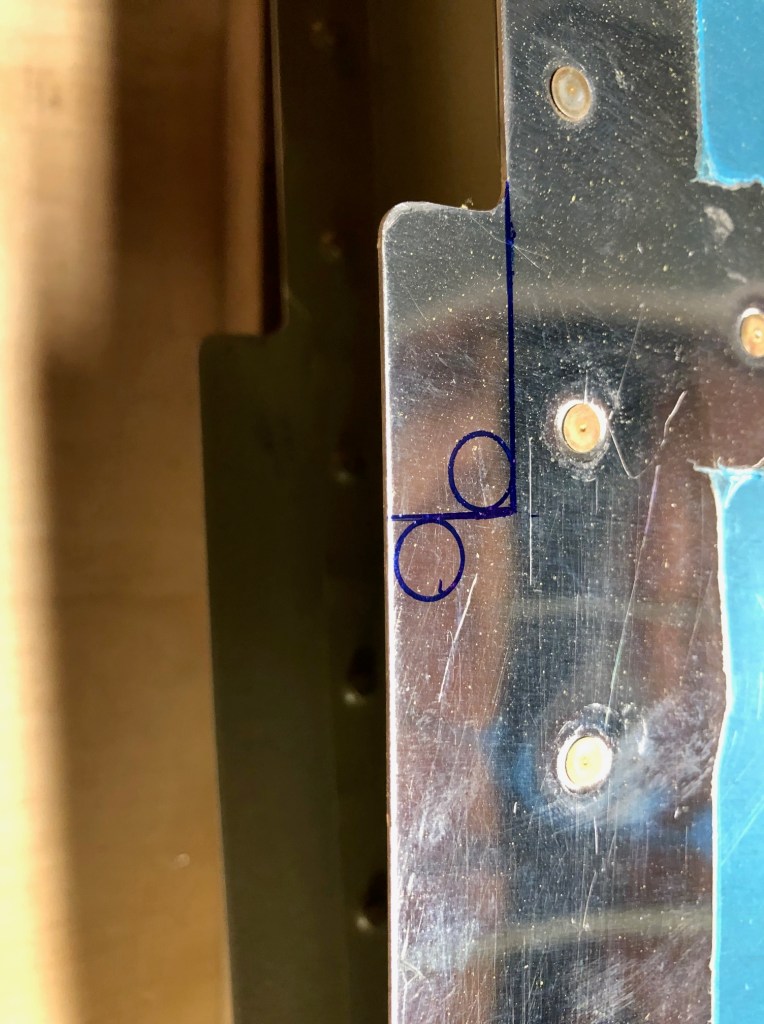
The elevators were removed and reinstalled about a dozen times before I was satisfied that the hole clearances were good and the edge distances on the counterweight arms were even and good. It’s time to drill the horns. This is something that you want to get right the first time. Fixing a mess-up here is very difficult and may involve welding the errant hole shut.
The drilling is done one side at a time with the elevator held in the in-trail position:
I’m using a nylon bushing I found at the hardware store to protect the bearing from the drill bit and to allow me to drill a smaller pilot hole.

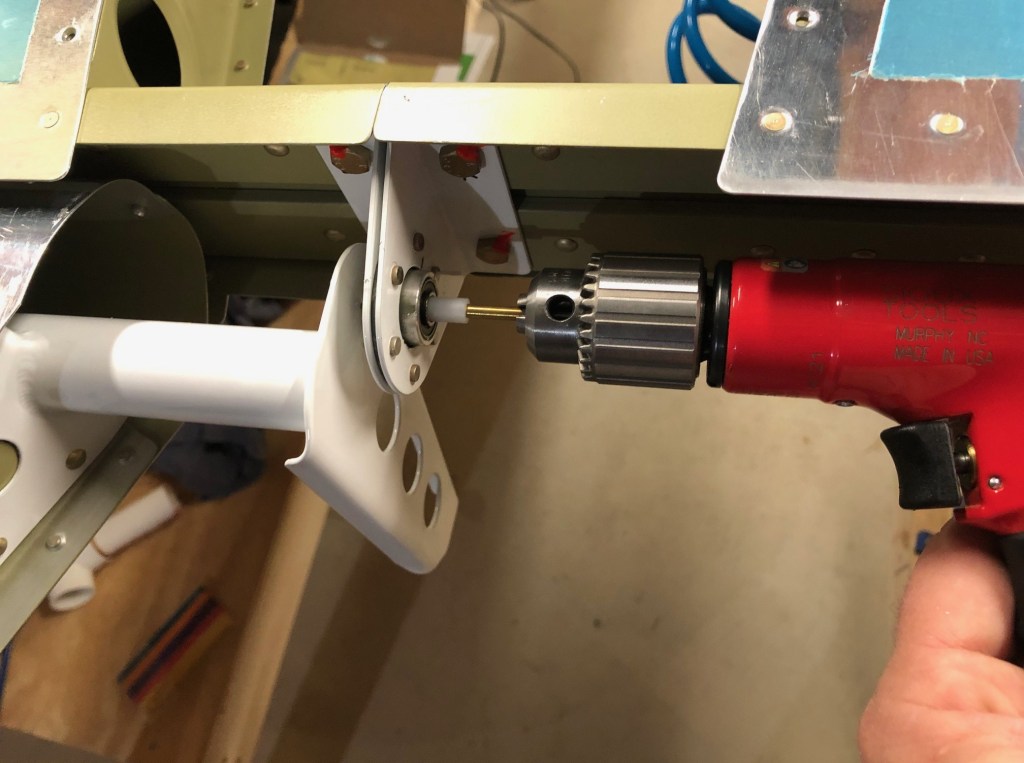
The hole position allows for plenty of side clearance for the bolt head and a socket:

Once both sides were pilot drilled then drilled to the full 1/4″, it was time to put both elevators on the stabilizer and see how everything aligns.

The alignment came out perfect and the bolt slid into position effortlessly. Here’s what it looks like with spacers and washers in place. I’m not going to torque this bolt until it’s time to finally mount the elevators to the completed airplane. At that time, a more careful setup will need to be undertaken, getting all the bearing connections bolted tight so the hinge motion is in the bearing, not with the bolt turning inside the bearing.

