With the left wing’s main section up on the stand, it’s now time to start working on the wing skins. The first task is to cut and drill the wing-walk doubler. This is a piece of aluminum sheet that goes under the top wing skin on the inboard section of the wing. It adds reinforcement to the wing-walk section where occupants step on the wing to get in and out of the aircraft. Here is the raw sheet placed under the wing skin.

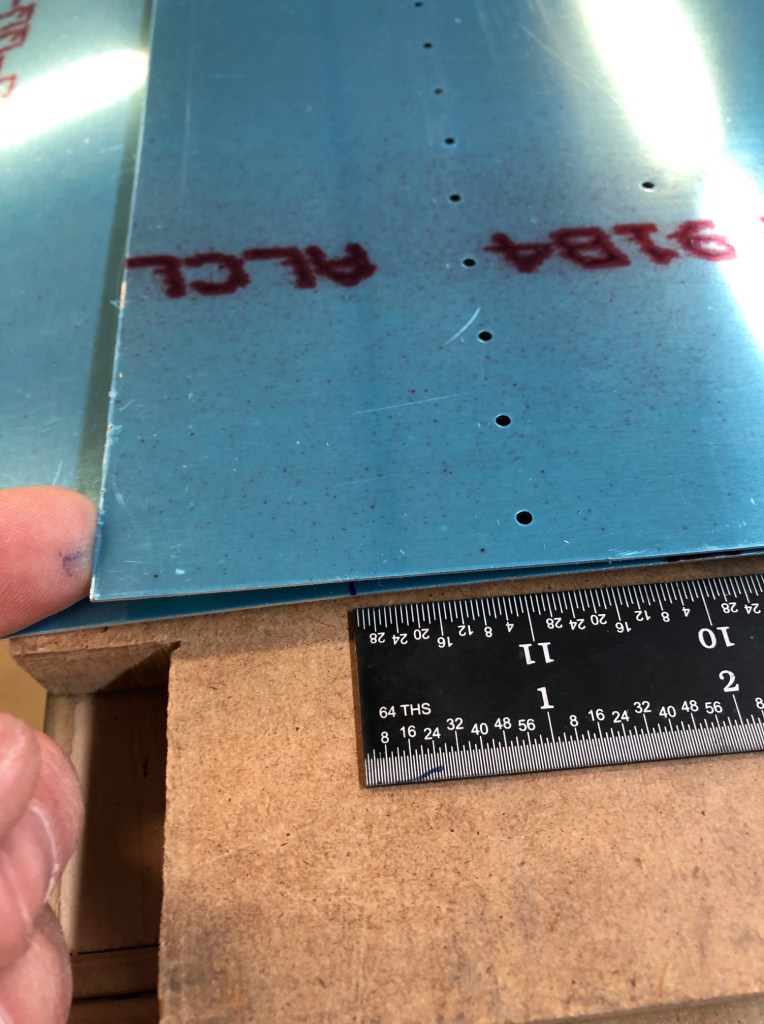
The doubler is flush with the wing skin along the inboard edge. Its forward edge is 9/16″ back from the leading edge of the wing skin.

The aft edge of the doubler is cut at an inch behind the rear row of rivets.
With the doubler securely clamped to the wing skin, all of the rivet holes are match-drilled using the holes in the wing skin as a guide. I placed clecos into some of the drilled holes as I went to further stabilize the two parts.
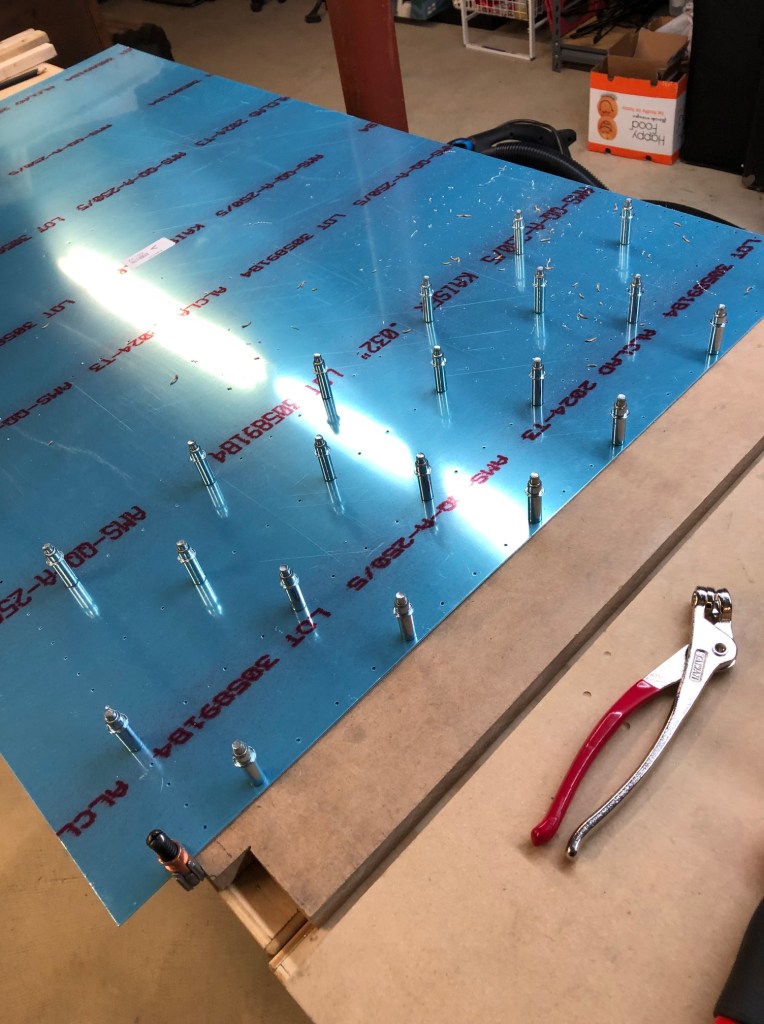
The drilled wing-walk and top skin can then be clecoed to the wing skeleton for final drilling.


