In this session, I assembled the leading edge section of the left wing. This is the outboard leading edge of the wing. The inboard leading edge is the fuel tank and I’ll get to that soon.
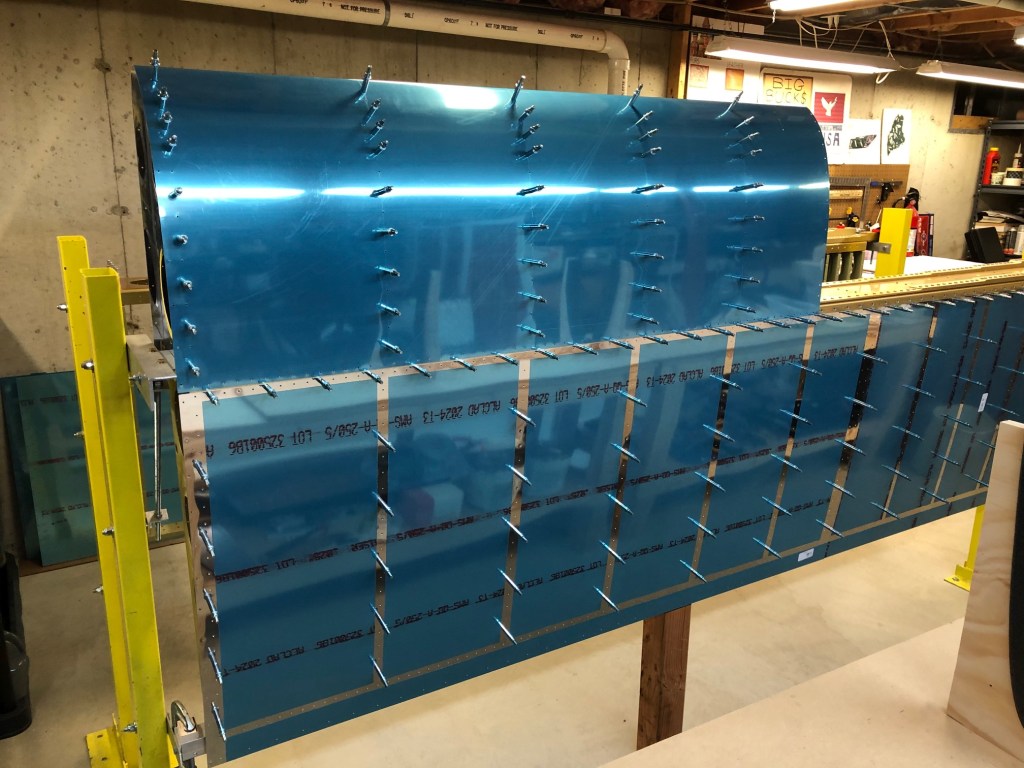
I started this task by putting the skin in the leading edge cradle that I built earlier and using clecos to hold the ribs in place.
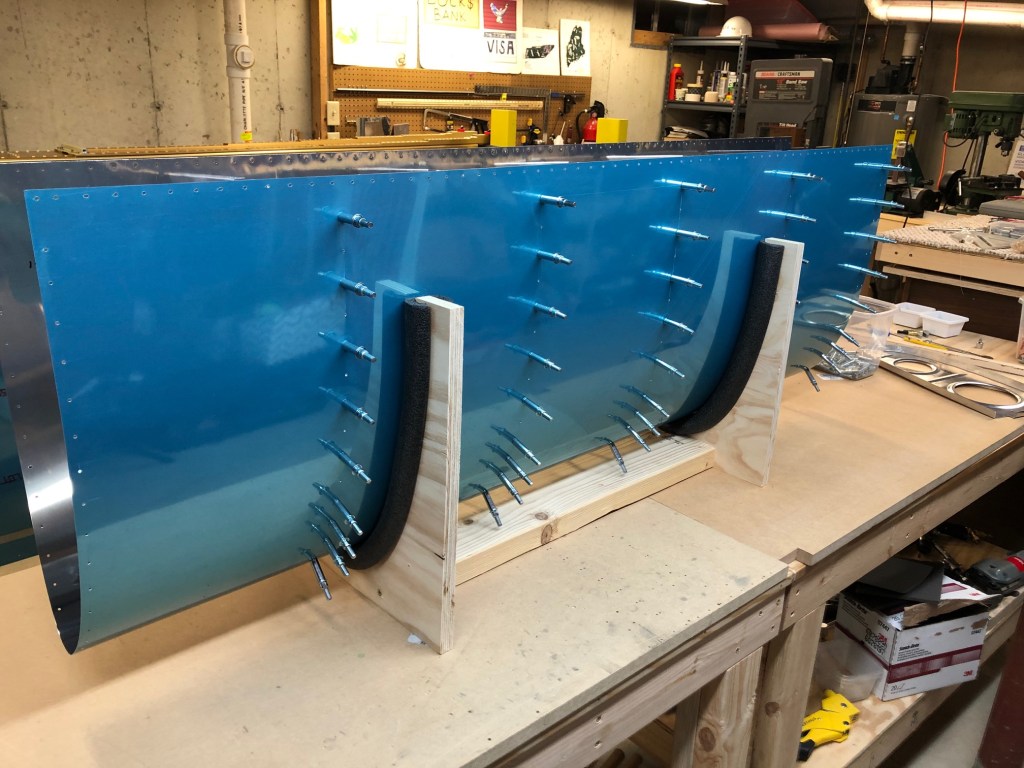

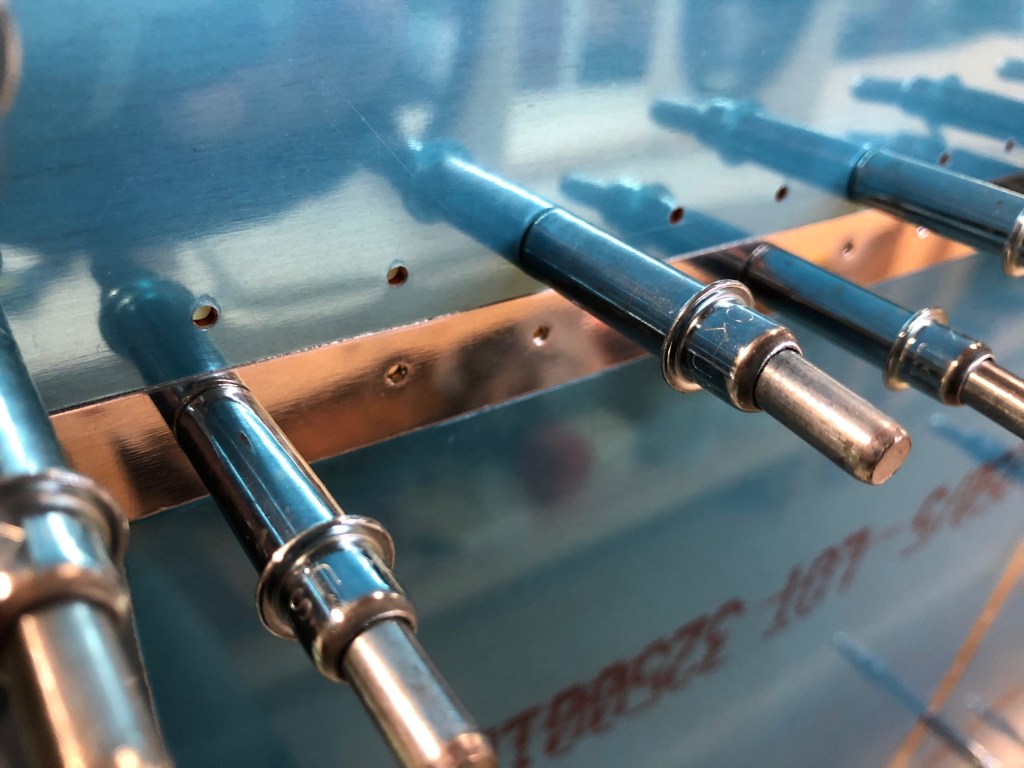
It’s a tight fit. The instructions say to start at the leading edge and work your way backwards along each rib, first on top then on the bottom. This worked quite well. Once this was done, I noticed a bit of a gap on the top where the ribs are most curved:

I was very concerned that this would cause problems during riveting, so I took it all apart and re-squared the flanges on the ribs. Once done, the fit became much better.
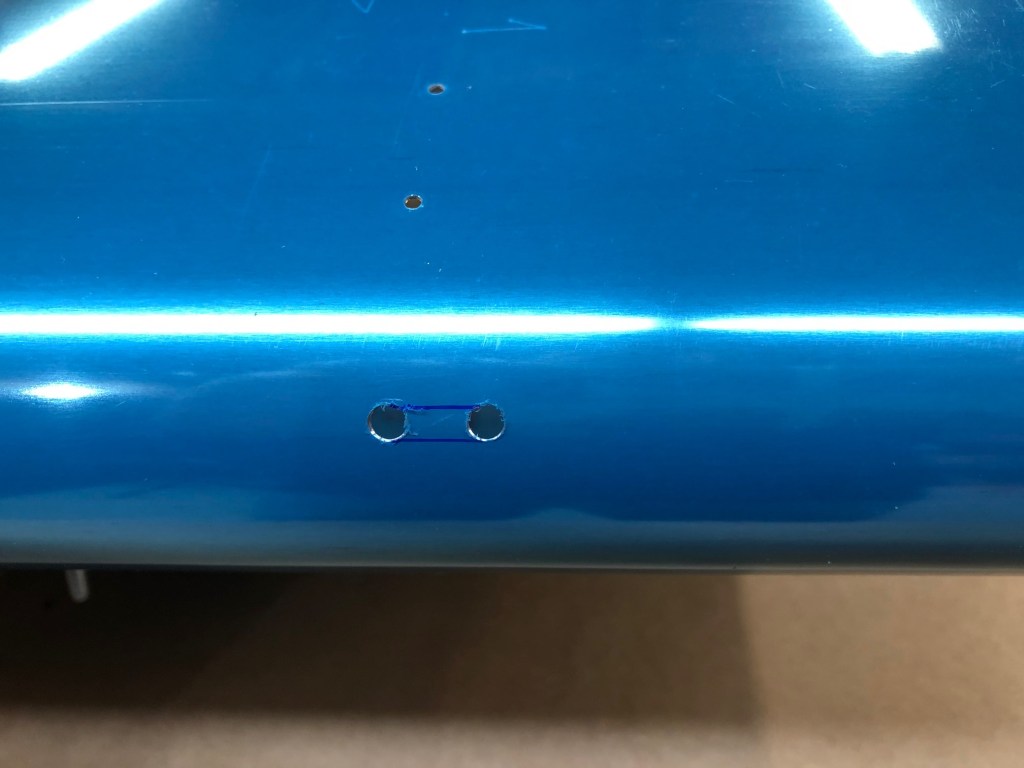
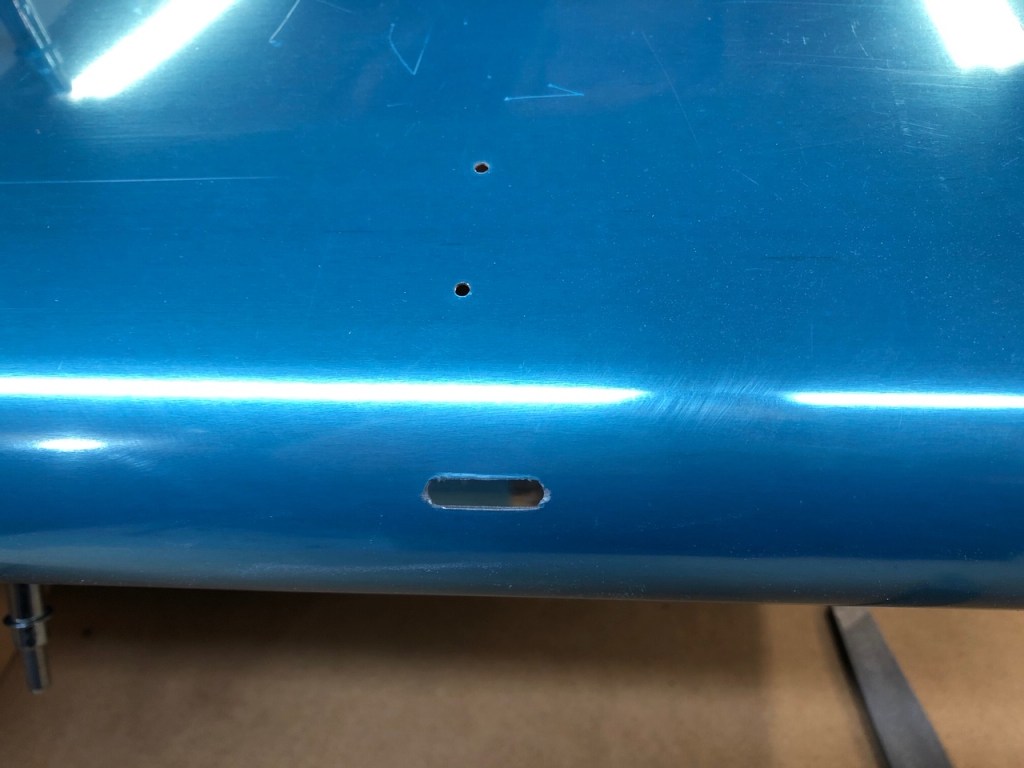
Before putting it on the wing spar, I needed to open the slot on the front of the wing where the stall-warning tab protrudes. Vans kindly provided two guide holes to show the location for this slot. All I needed to do was open those holes up to #10 size and remove the aluminum between the holes.
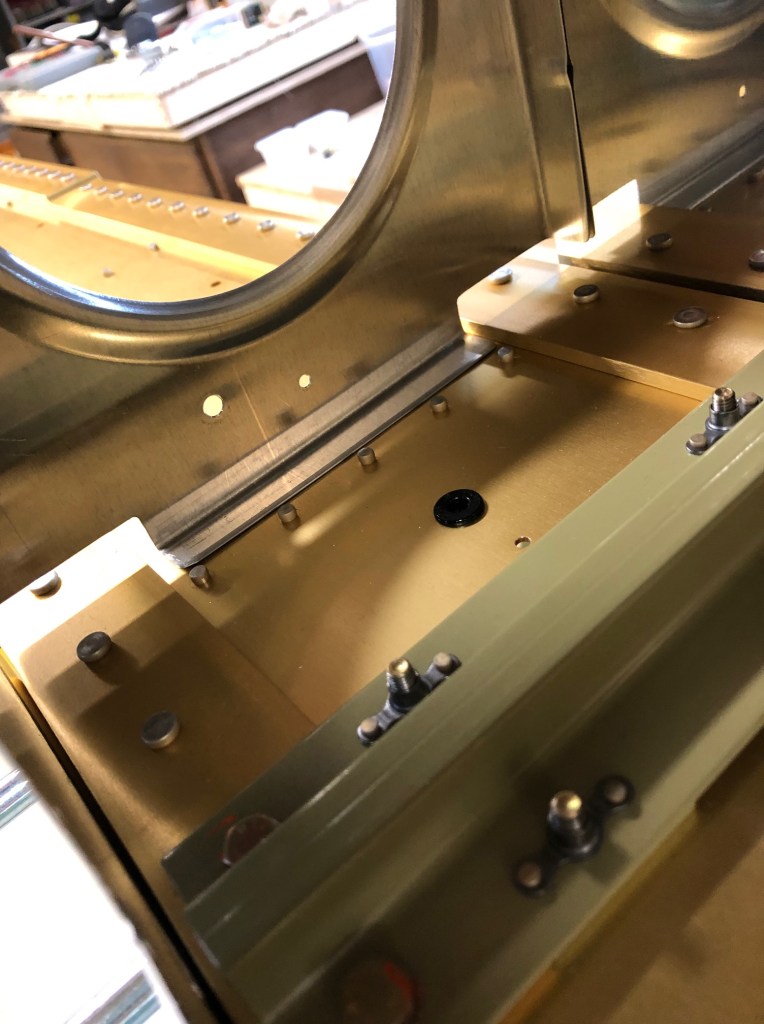
Now, the leading edge goes on the main spar. Here’s where things really get interesting because you can see for the first time the real shape of the wing.
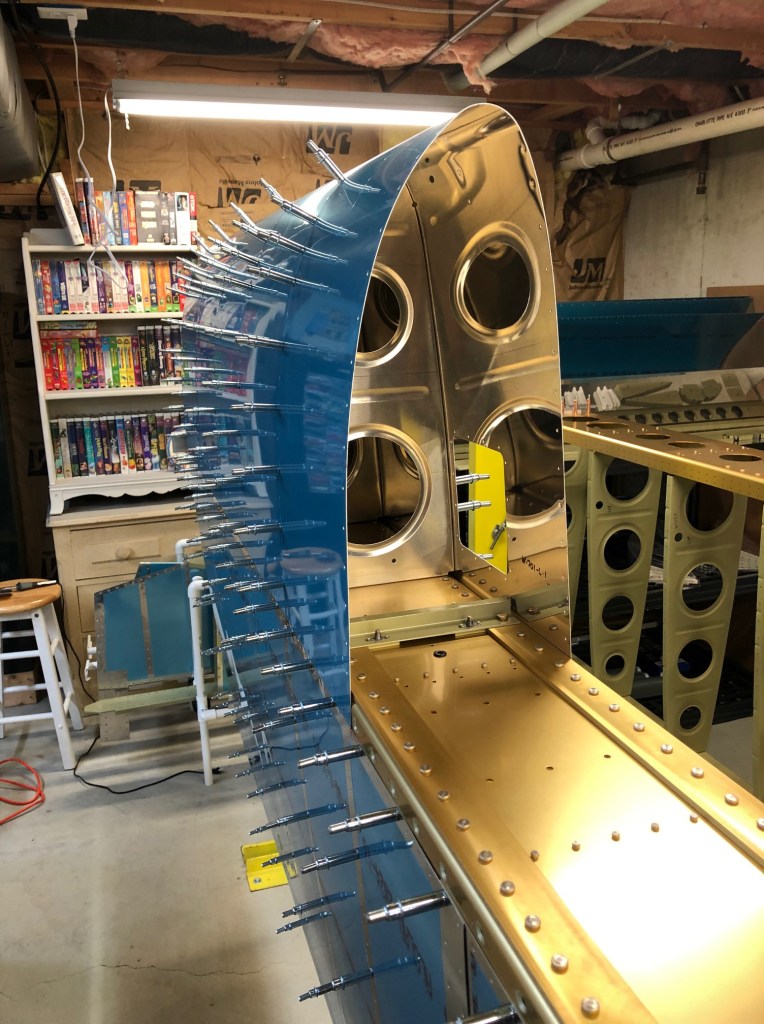
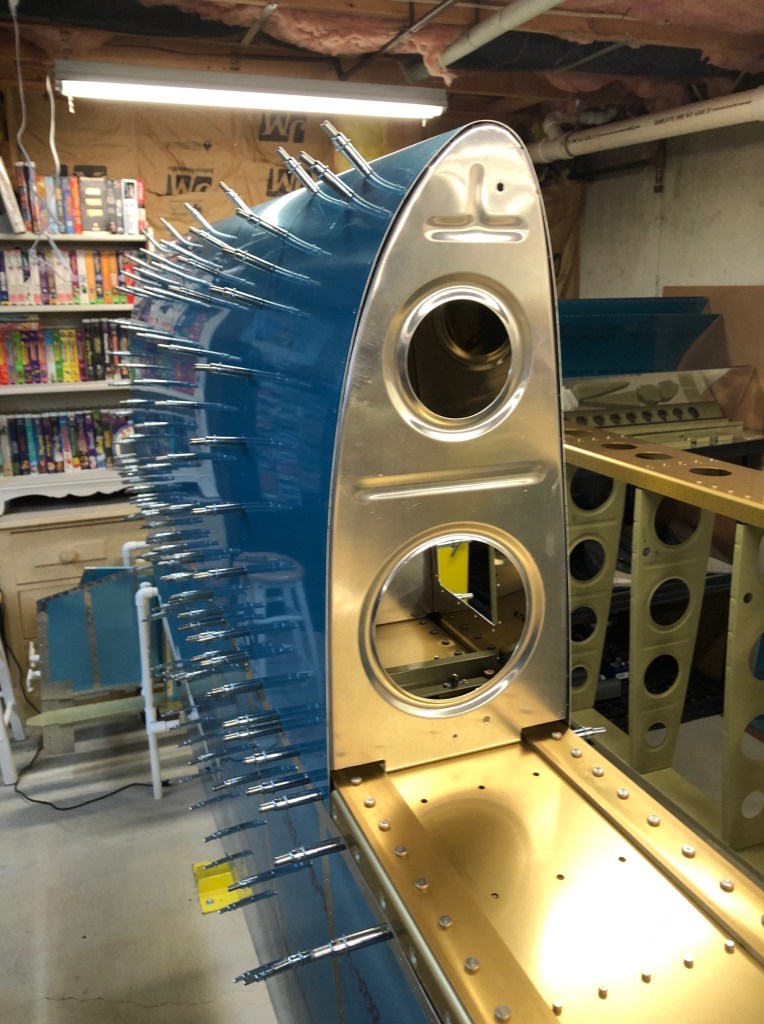
Note that the inboard rib is not in place yet. This is the only rib that is not factory-drilled and it needs to be match drilled to the skin and an attachment plate used to secure the outboard edge of the fuel tank.
The seam between main and leading edge skins is very clean.
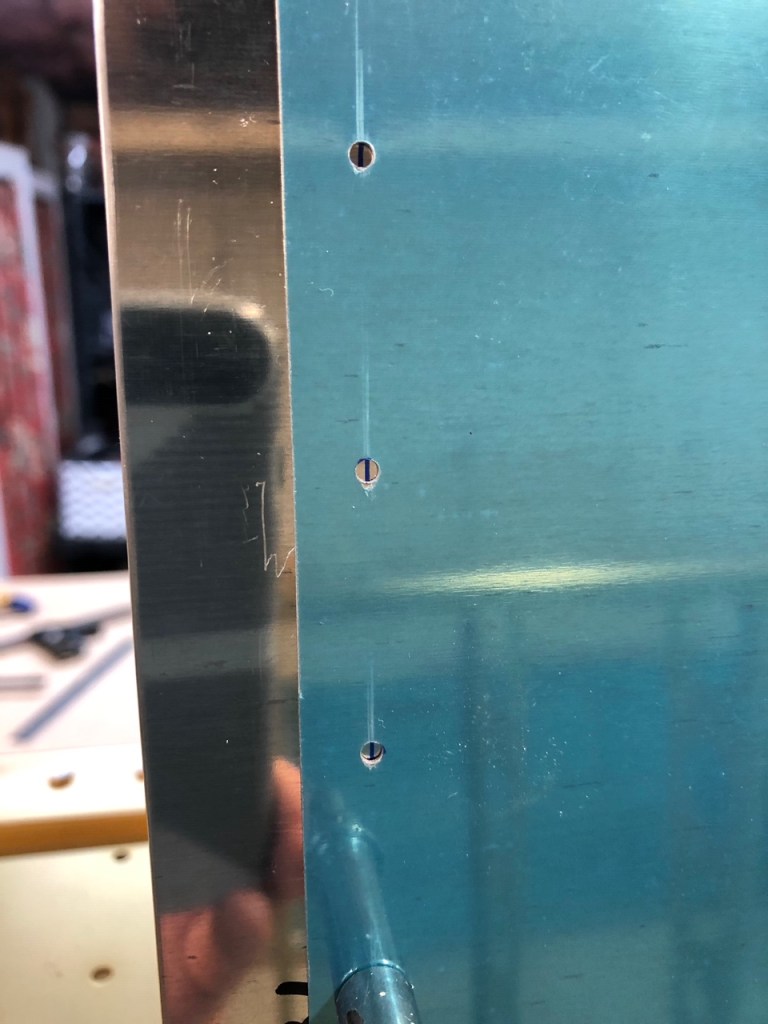
The tank attachment plate needs to be fabricated. I start by drawing a line 1/2″ from one edge along its entire length:

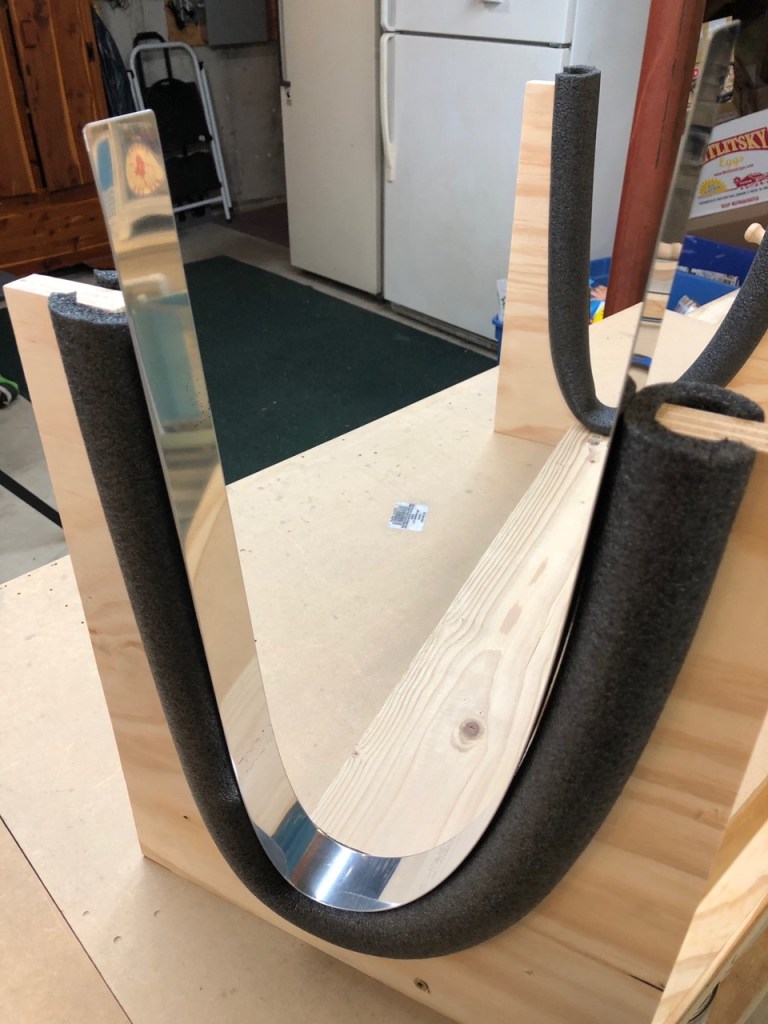
It then needs to be pre-bent into roughly the shape of the leading edge so it can be positioned between the inboard rib and the skin. I used the cradle to do this:
Here’s the inboard rib without the attach plate:
The attach plate is then moved into place between the rib and skin such that the line appears in the skin’s holes:
Once I was satisfied that everything was aligned properly and that the rib was in the correct position, it was time to drill. Drill-then-cleco for each hole:


With the inboard rib completed, all of the other holes in the leading edge skin needed to be final-drilled. It was then time to remove the leading edge and deburr all the edges and holes. I will set these parts aside for later assembly.
