The kit plans show how to use a plumb-bob to measure the twist in the wings. The plumb-line is attached to the main spar with a cleco and the distance from the rear spar to the line is measured. There is no wing twist if the measurements are the same at the root and tip of the wing.

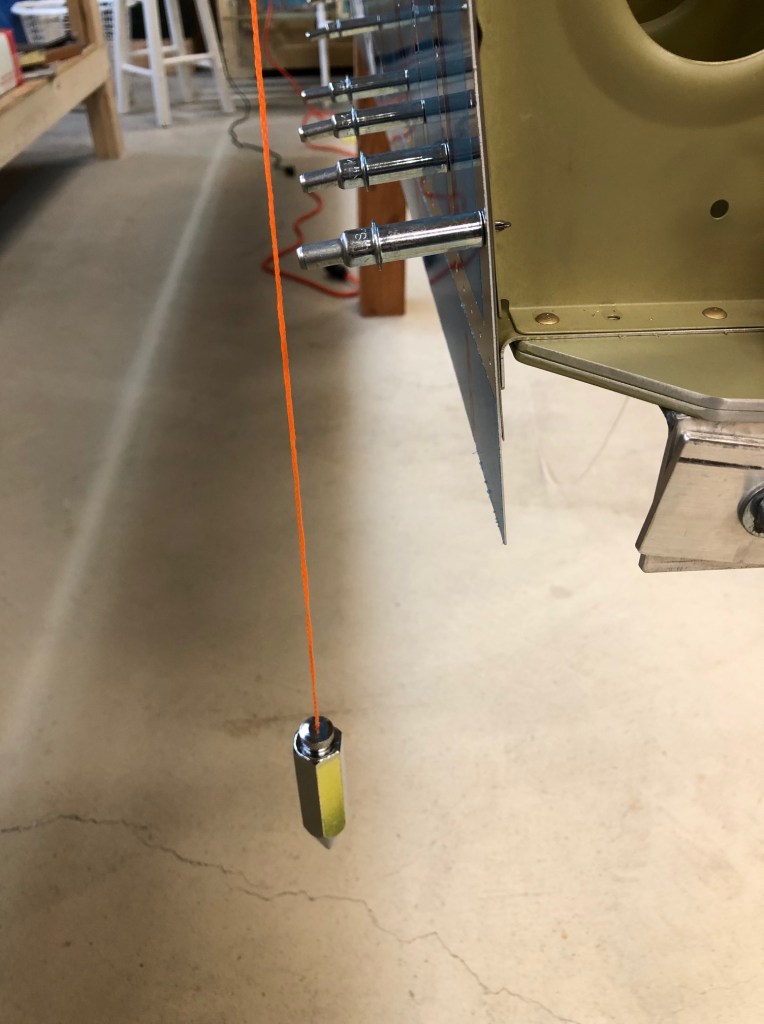
Unfortunately, the plans make no reference to how different the measurements can be before it’s considered a problem. With just the top skins on the left wing, I measured a difference of 3/16 of an inch, which seemed a bit big to me. I inquired on vansairforce.com and learned that those instructions are a remnant from older kits that did not have factory-drilled holes. In theory, the pre-drilled RV-7 should be “straight enough” without making any adjustments.
After reading as much about this topic as I could find, I went back down and put the bottom skins on the wing along with the top skins. When I re-measured the twist, I could find no difference in measurements from root to tip. It was within the width of the string. At this point, I decided to stop worrying about twist and build-on.
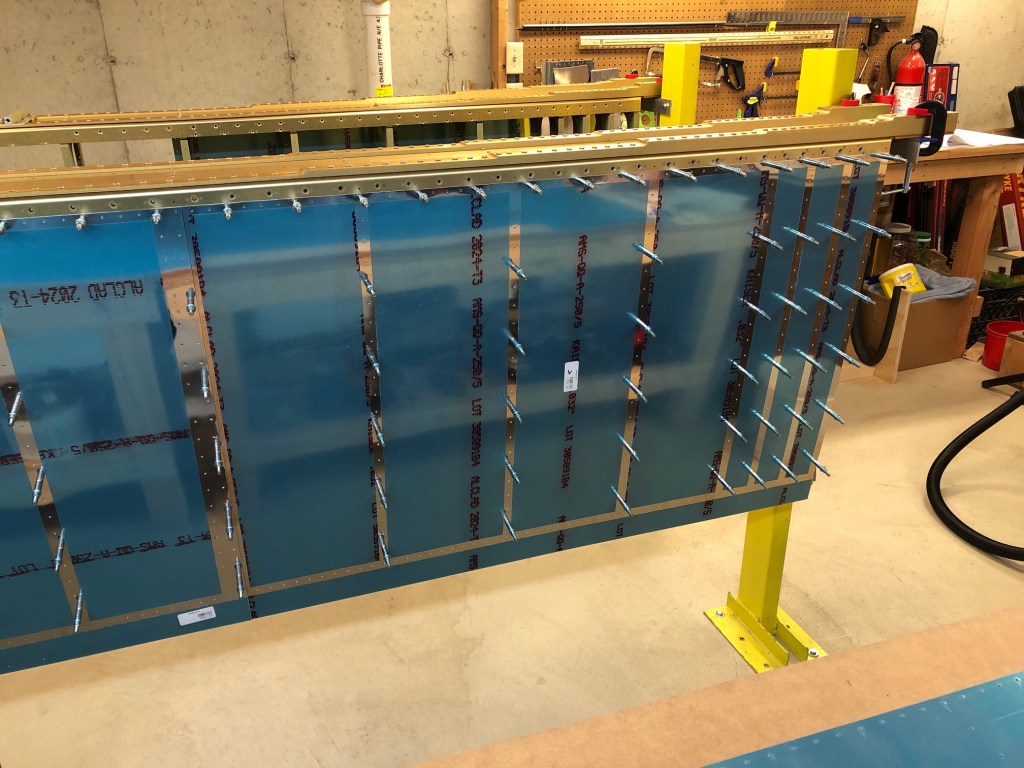
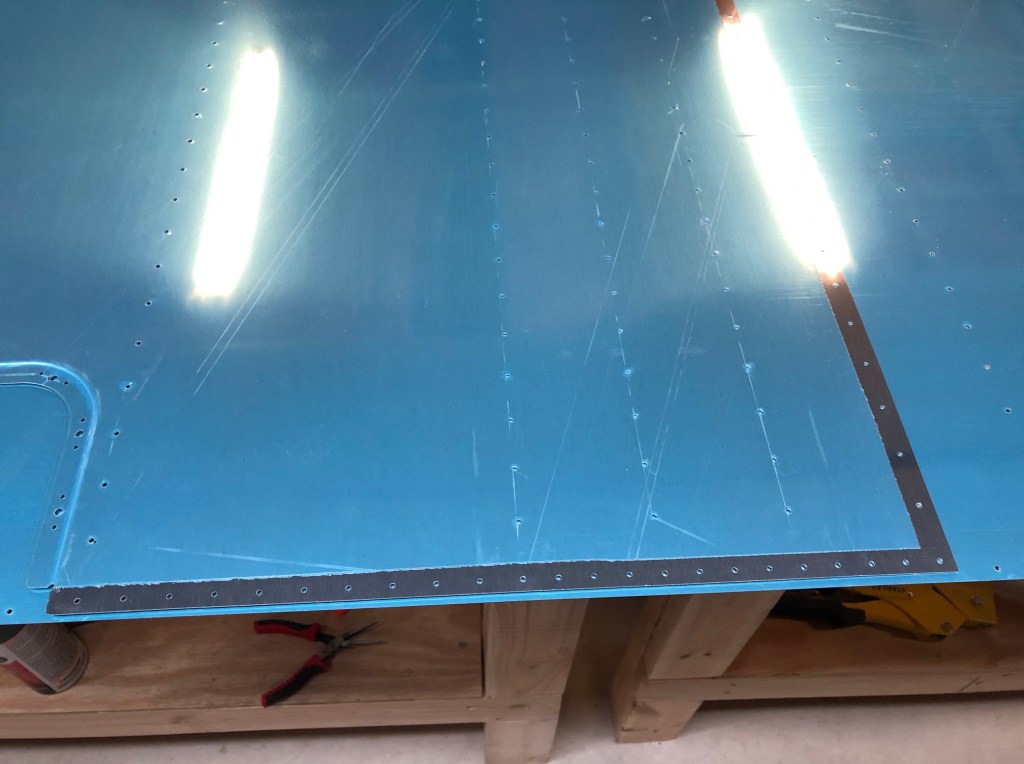
The next task was to final-drill all of the holes in the skins, both top and bottom. Here are some pictures of the left wing with the skins on.


Once the skins were drilled, it was time for the laborious task of removing the vinyl on the rivet lines and deburring all of the holes. Here are the top skins de-vinyled and deburred.
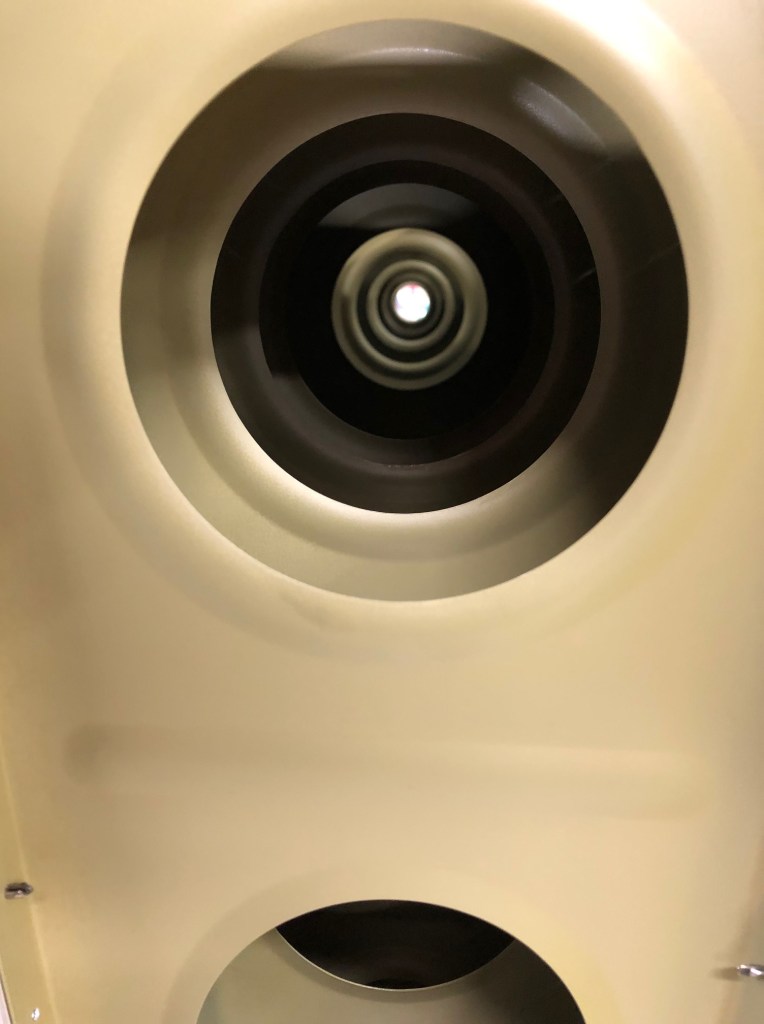
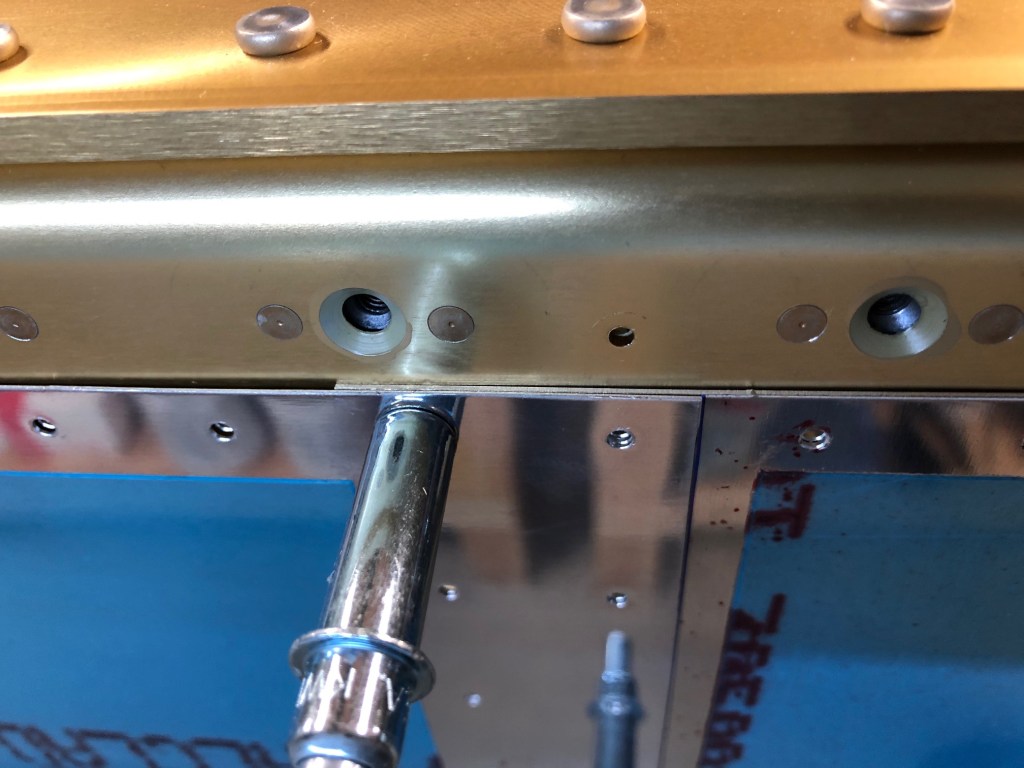
This is a close-up view of the skin overlap, which will need to be bevelled for a cleaner transition.
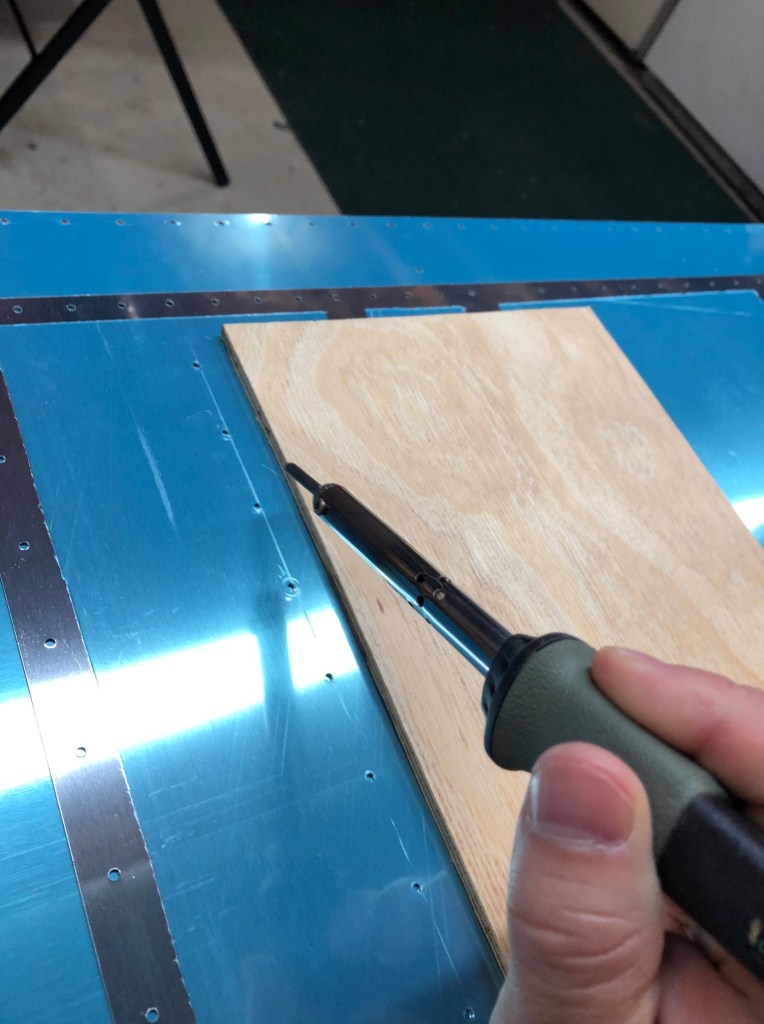
The following pictures are from the de-vinyl and deburring of the bottom skins. I use a hot soldering iron and a straight piece of wood as a guide to melt the vinyl (while being careful not to scratch the aluminum). The strips of vinyl to be removed then easily pull off.


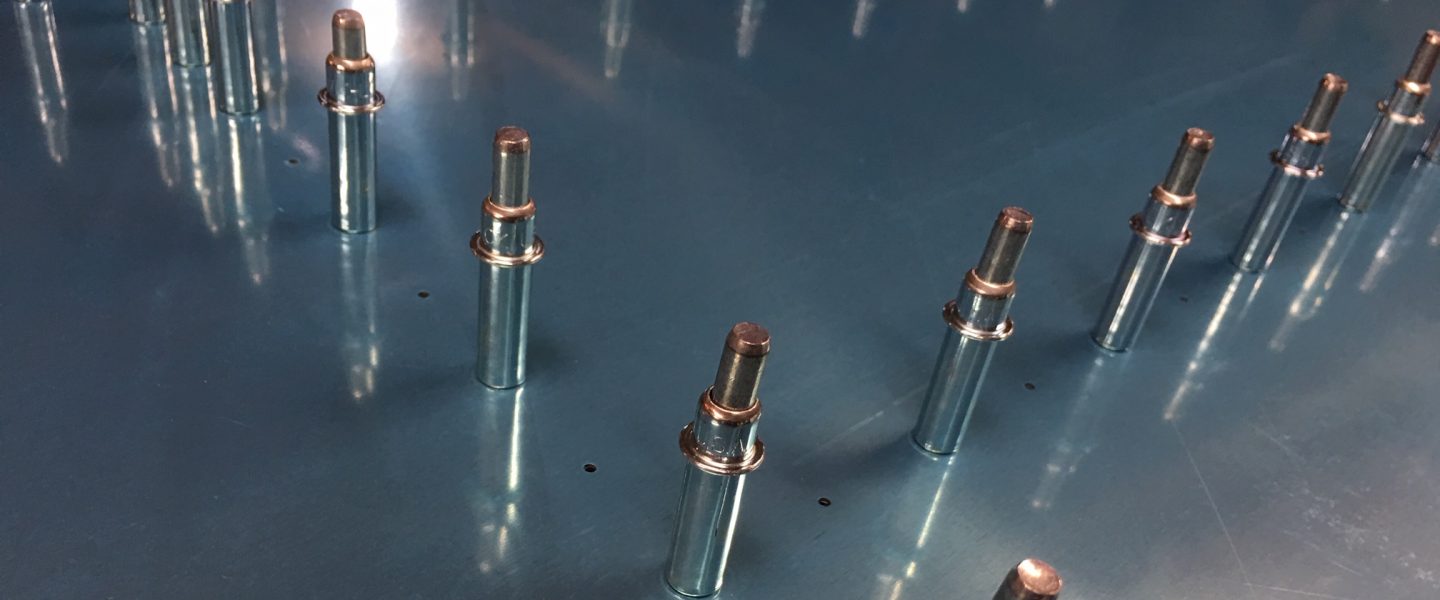
Here, I’m using a hole-deburring bit to clean up the rivet holes. It only takes about one turn of the bit to get a nice clean edge.

