The aircraft’s fuel tanks form the inboard part of the wings’ leading edges. The first task in building the fuel tanks is to drill the Z-brackets that are used to mount the tanks to the wing main spar. The aft boundary of the fuel tank is a flat aluminum baffle. The Z-brackets are riveted to the tank baffle and bolted to the main wing spar. Because the tanks sometimes require maintenance for leaks, they are not riveted to the wing. They are attached using bolts and are removable.
There is a lot of material written about RV fuel tank construction and in reading much of it, I’ve learned that there is a popular method of construction that is different from the method presented in the Vans build instructions. This is commonly referred to as the “Checkoway” method, named after the builder, Dan Checkoway, who first documented it. This documentation has since been taken down from the Internet and it lives on in various blogs of builders who used it. Mr. Checkoway has pointed out that he in not the inventor of the method, only the first to clearly write it down. Needless to say, I will be using this method to fit the Z-brackets to the tank baffles.
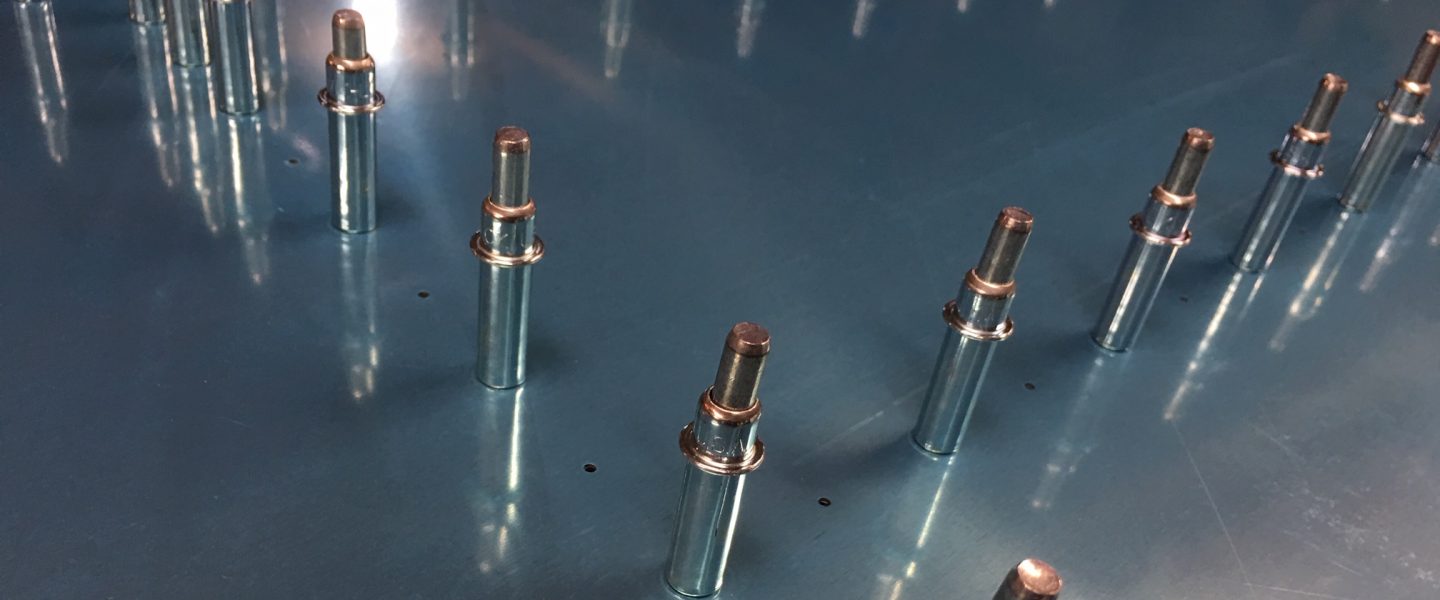
After cleaning up and deburring the edges of the Z-brackets, I need to drill the bolt and rivet holes in their flanges. I start by drilling the center bolt hole in one of the flanges. This hole should be as close to the z-bracket web as possible. This means as close to the web as I can get it while still being able to fit a socket over the bolt hex-head. The closer the bolt hole is to the web, the farther the rivet holes will be from the web on the opposite flange. I want as much distance as I can get so I can fit the rivet puller when I install the rivets later.

I set up a jig on my drill press to drill the center bolt hole in each Z-bracket. Once set up, this made quick work of drilling the holes. Here is the completed set of brackets:

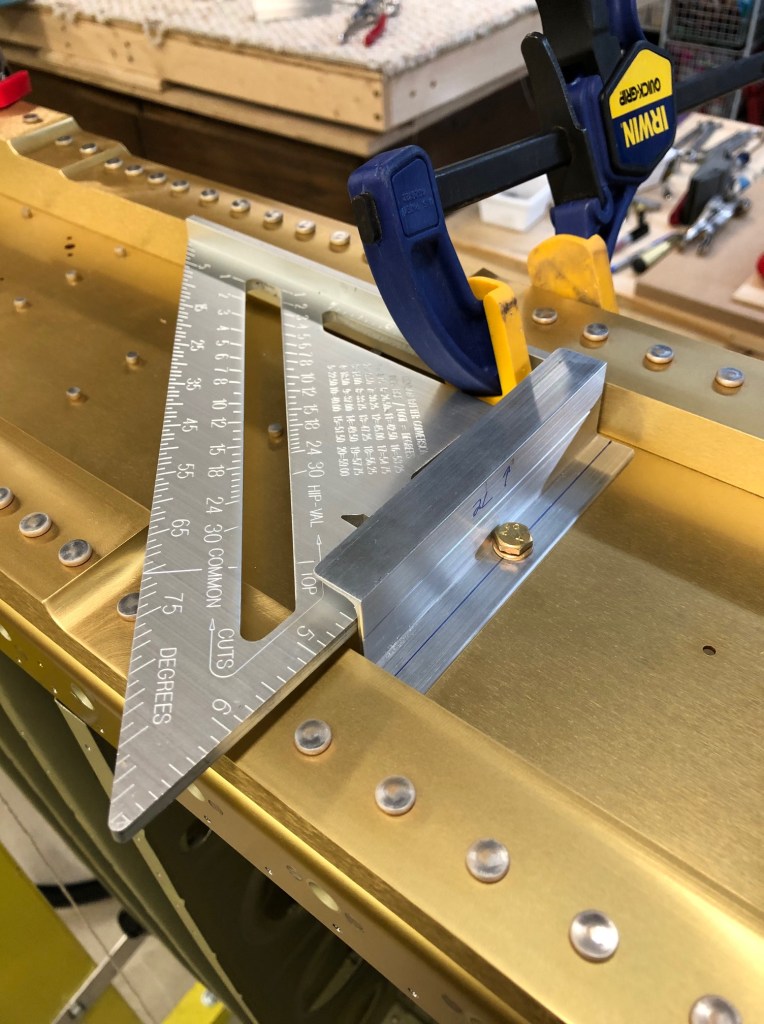
The next job is to drill the remaining two bolt holes in each bracket. This is done by mounting the bracket on the spar by the center hole, squaring the bracket to the spar, and match drilling the other two holes up through the spar.
Here are the drilled brackets:

Next, I mounted the brackets onto the wing spar for a test fitting.

Without fully assembling the tanks, I placed the tank skin and the rear baffle onto the wing and aligned the skin to the leading edge that it abuts.
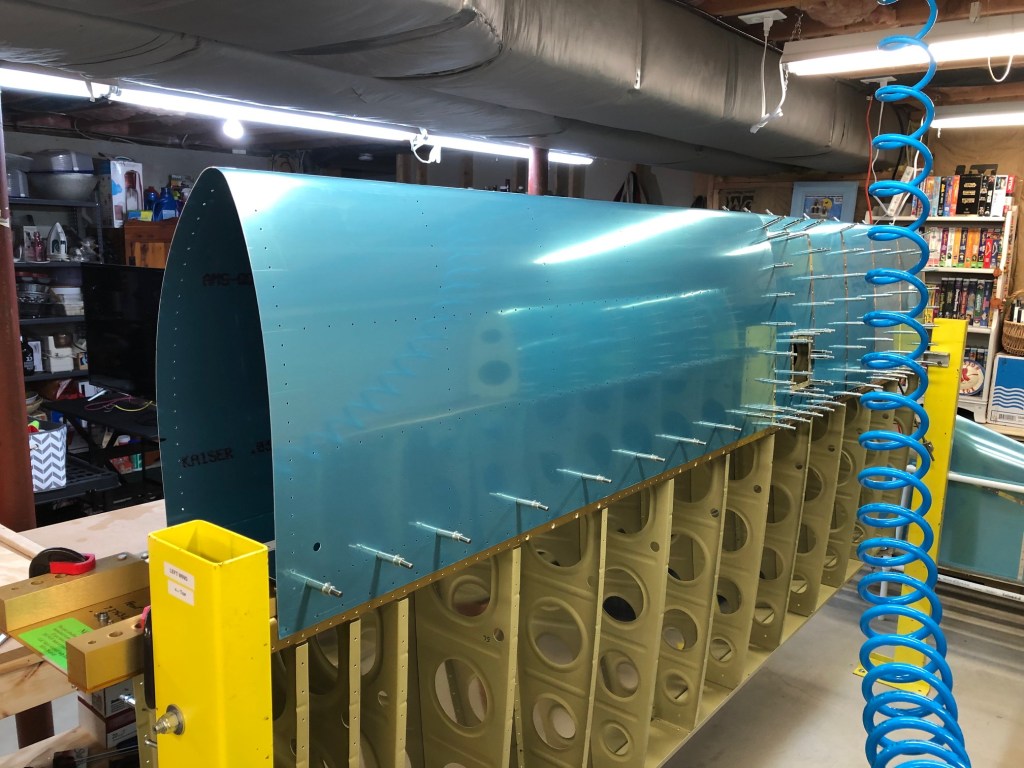

As you can see, the fit is pretty good. Here is the first (inboard) Z-bracket aligned with the tank baffle.

Using a Sharpie, I marked the locations of the rivet holes through the baffle onto the Z-brackets to see how the rivet locations fit.


As planned, they are a little bit beyond center, away from the Z-bracket web. These look good. There is a bunch of work remaining before it is time to drill these rivet holes.
