With the Horizontal and vertical stabilizers completed and set aside, it’s time to start building the rudder assembly. The first task is to trim and prepare the stiffeners so they can be riveted to the left and right skins. The rudder skins are significantly thinner and lighter than the skin on the vertical stabilizer. To give them structural rigidity, eight stiffeners are affixed to each skin. The thinner skin and the stiffeners are significantly lighter than using a thicker skin, and since these surfaces are completely flat (no airfoil or curve), right-angle stiffeners are easy to fabricate and install.
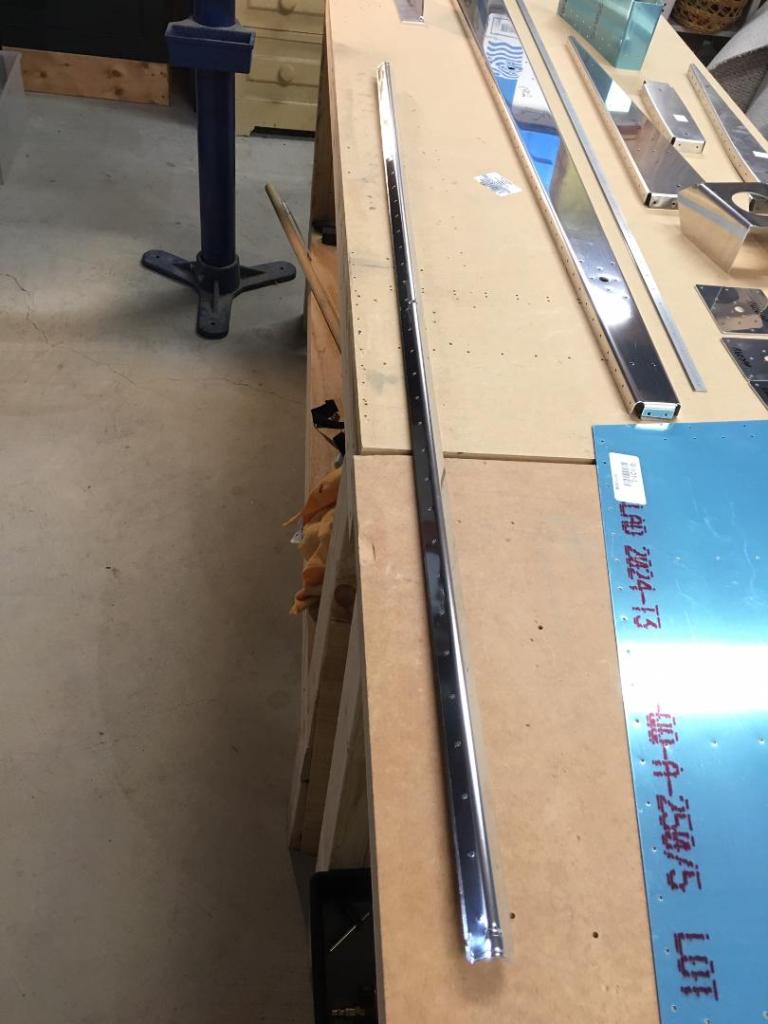
The stiffeners come as eight long pieces of pre-drilled angle stock:
Each piece much be separated into two halves and trimmed to the proper shape. Because the rudder has a tapered rear edge, the eight stiffeners must be trimmed to eight different lengths. Each stiffener is trimmed at the fore-end one quarter inch past the last hole used for that length. Each stiffener in sequence has one fewer hole than the one before it.
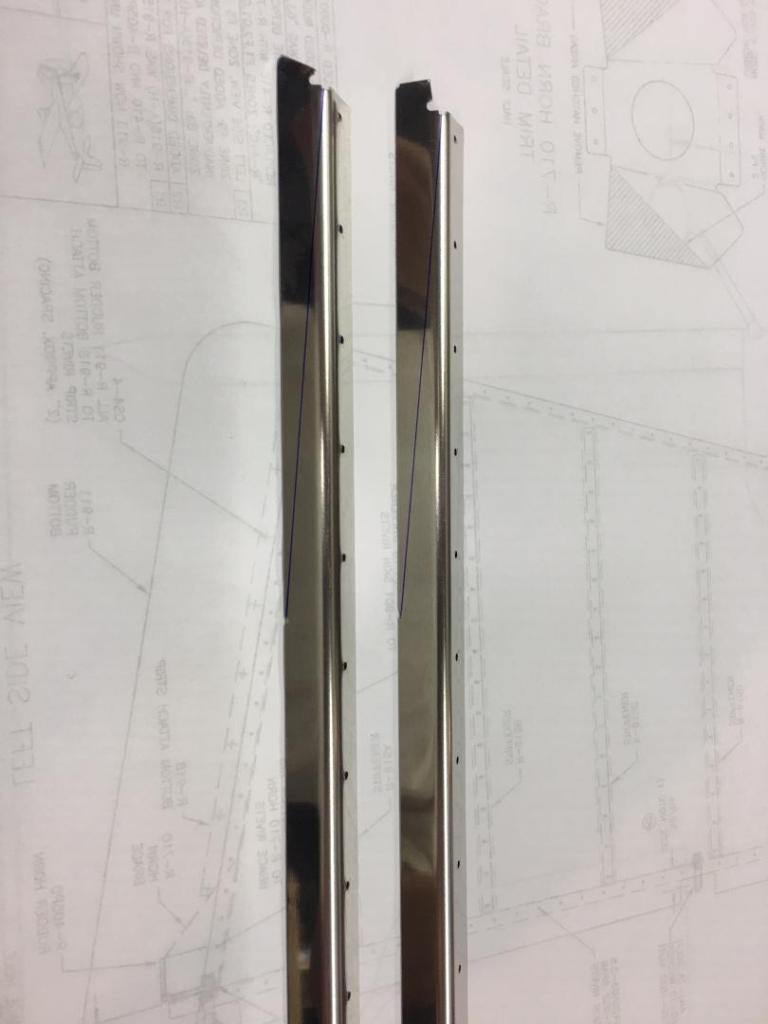

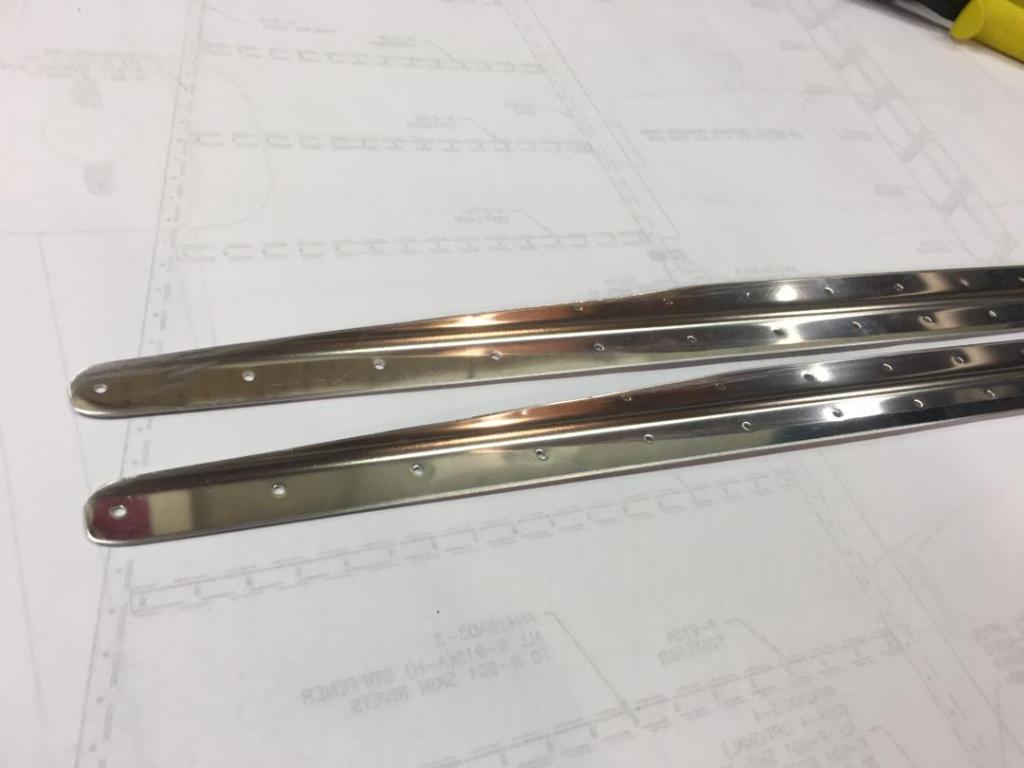
These rough cuts must then be smoothed and rounded to provide crack-resistant edges.

The stiffeners are then assigned to the left and right sides and are match-drilled to their respective skins. The match drilling is done by drilling directly into the sacrificial MDF on top of the table. Once a hole is drilled, a cleco can be placed through the hole into the table to hold the assembly tightly together while the remaining holes are drilled.


This is the left side skin with all of its stiffeners clecoed and drilled:

With all of the stiffeners and skins match drilled, the holes must all be deburred to remove any loose chips of aluminum. This is what the table top looked like after I completed deburring all of the stiffeners. Clearly deburring is quite necessary.

With the skins and stiffeners drilled and deburred, the next steps will be to prime both, dimple the rivet holes, and back-rivet the stiffeners to the skins.
