Having trimmed, smoothed, deburred, primed, and dimpled the rudder stiffeners and the left and right rudder skins, it’s now time to rivet the stiffeners to the skins.
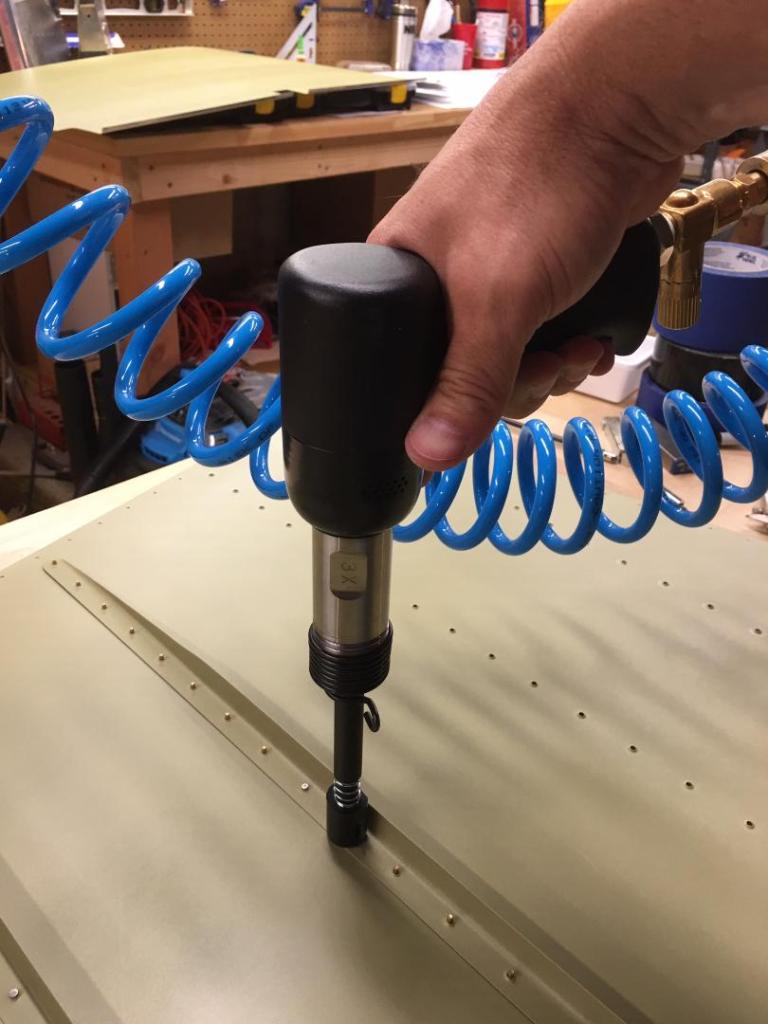
I’m using the back-riveting technique for this task, which involves driving the shop heads while the flush factory heads are held against the hard smooth surface of a back-riveting plate. I’ve cut a hole in a 2 foot by 2 foot piece of plywood to hold the back rivet plate so that the part being built doesn’t bend around the edges of the plate. This embedded plate can then be easily moved to the part of the table where it is needed.

Starting with one stiffener’s row of empty rivet holes:

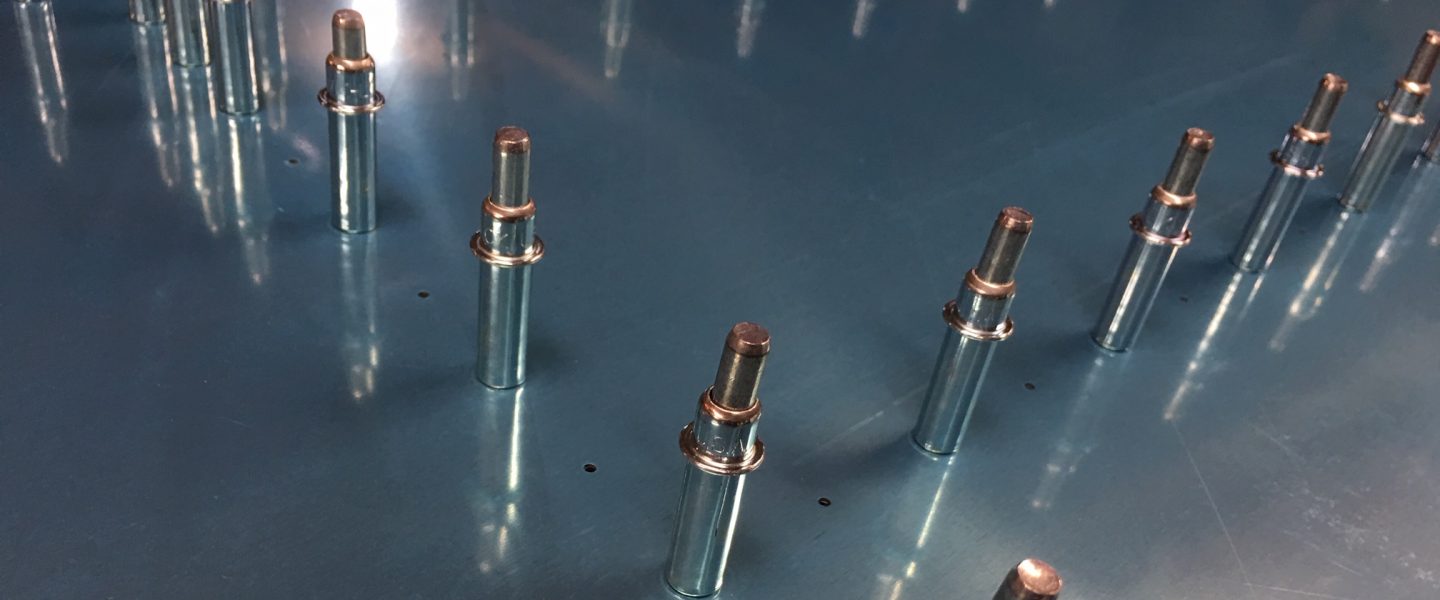
One flush rivet is placed in each hole, then the row is secured with riveting tape (Scotch 811 tape from Staples).

With the rivets held in place, the skin can be flipped over and positioned such that the rivets are over the backing plate.

The stiffener is then positioned over the rivets.

And riveting can begin. Back riveting is one of the easier methods of riveting and it yields a consistently good result.
This is what the shop heads look like when they’re complete:

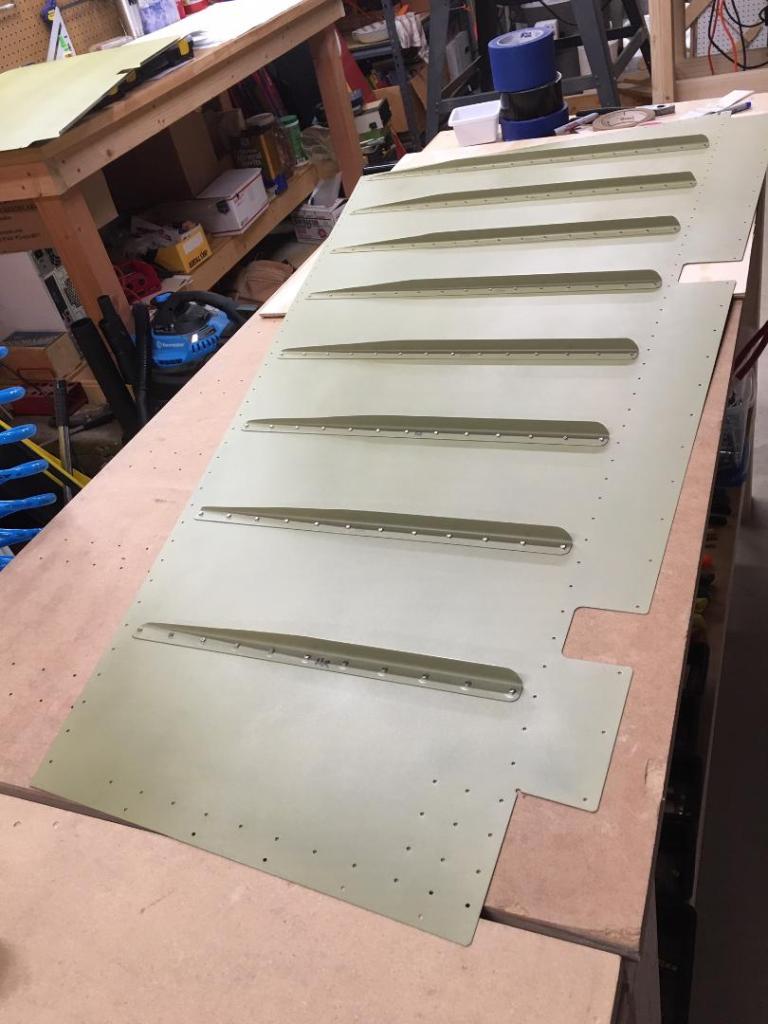
Here is a picture of the completed right skin: