Time to get the right wing caught up with the left wing. I started by priming the 14 main ribs.
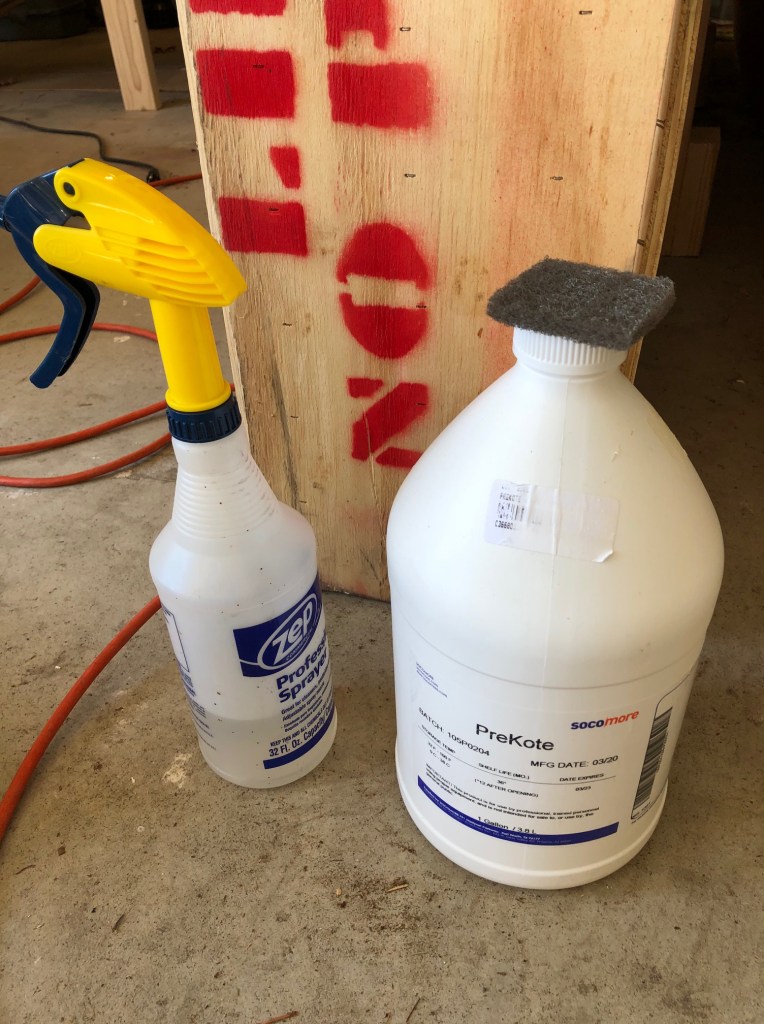
I’m using a new method that is proving to be much faster than the scuff-and-clean method of primer preparation I was using before. I’m using PreKote to clean and prepare the aluminum surface for painting.
I don’t have pictures of the process because my hands were gloved and messy from the work.
I started each rib by spraying it with PreKote and then scrubbing it with a small square of ScotchBrite pad. The metal is scrubbed until the chemical forms a thick lather. First one side of the rib is done, then the other. Then the process is repeated a second time. The rib is then flushed clean with water. I’m using a plastic bin to rinse the ribs.

After the rinse, the water should sheet off of the metal without beading up. If there’s any beading, another PreKote scrub is called for. The ribs are then air dried and ready for shooting primer. I did five ribs at a time, since that was the number that easily fit on my painting table. It took three hours to complete all 14 ribs.
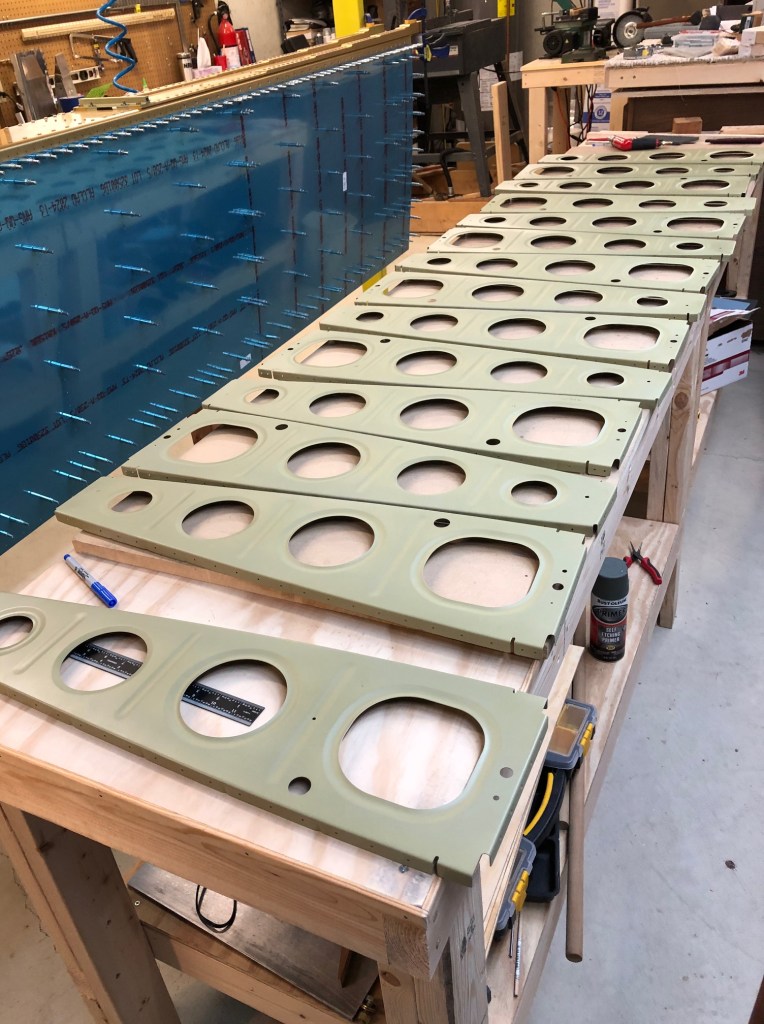
I had some primer left over so I primed some more of the waiting aileron parts.


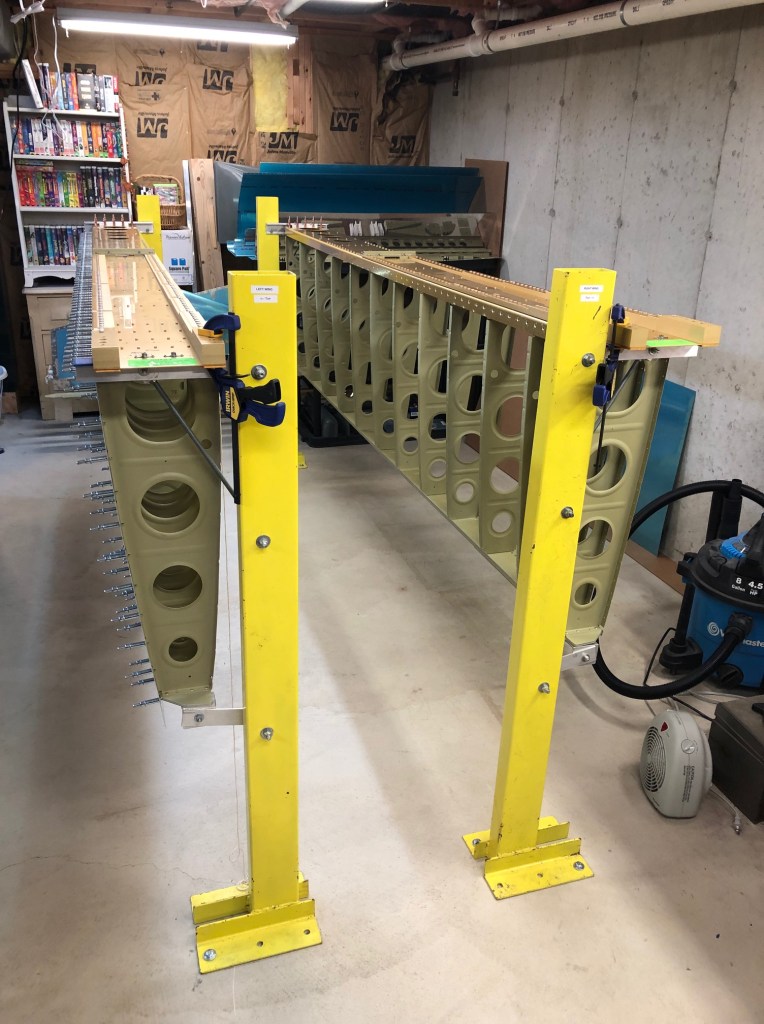
After the primer on the ribs cured overnight, they were riveted onto the main and rear spars of the right wing, in a perfect mirror image of the left wing. By the way, the plans are all drawn for the left wing only. When working on the right wing, one has to do a lot of mental mirror imaging to ensure that things are going together correctly.

The completed right wing main section was then mounted on the second wing stand.